Beginners Guide to Embroidering Knits
Embroidering your hand knits for the first time can be a little scary. You’ve spent a long time knitting, it looks great and you don’t want to spoil it. I have a few tips to help you overcome the fear and enjoy embroidering your knitting.
First, choose a design and gather your supplies. I like to embroider over water soluble stabiliser. It gives a clear outline to follow, you’re not distracted by the knit stitches underneath and it is easily removed when you’ve finished. You will also need a water soluble pen or pencil, needles and yarn to embroider with and a sample square of knitting to practice on.
Choosing you embroidery design
My embroidery designs come in several sizes, but you might want to check that the design will fit your knitting and that you like the look of it. To do this, trace the design onto thin paper, cut it out very close to the outline and place it on your knitting to check it fits as you want it to.
Water Soluble Stabiliser
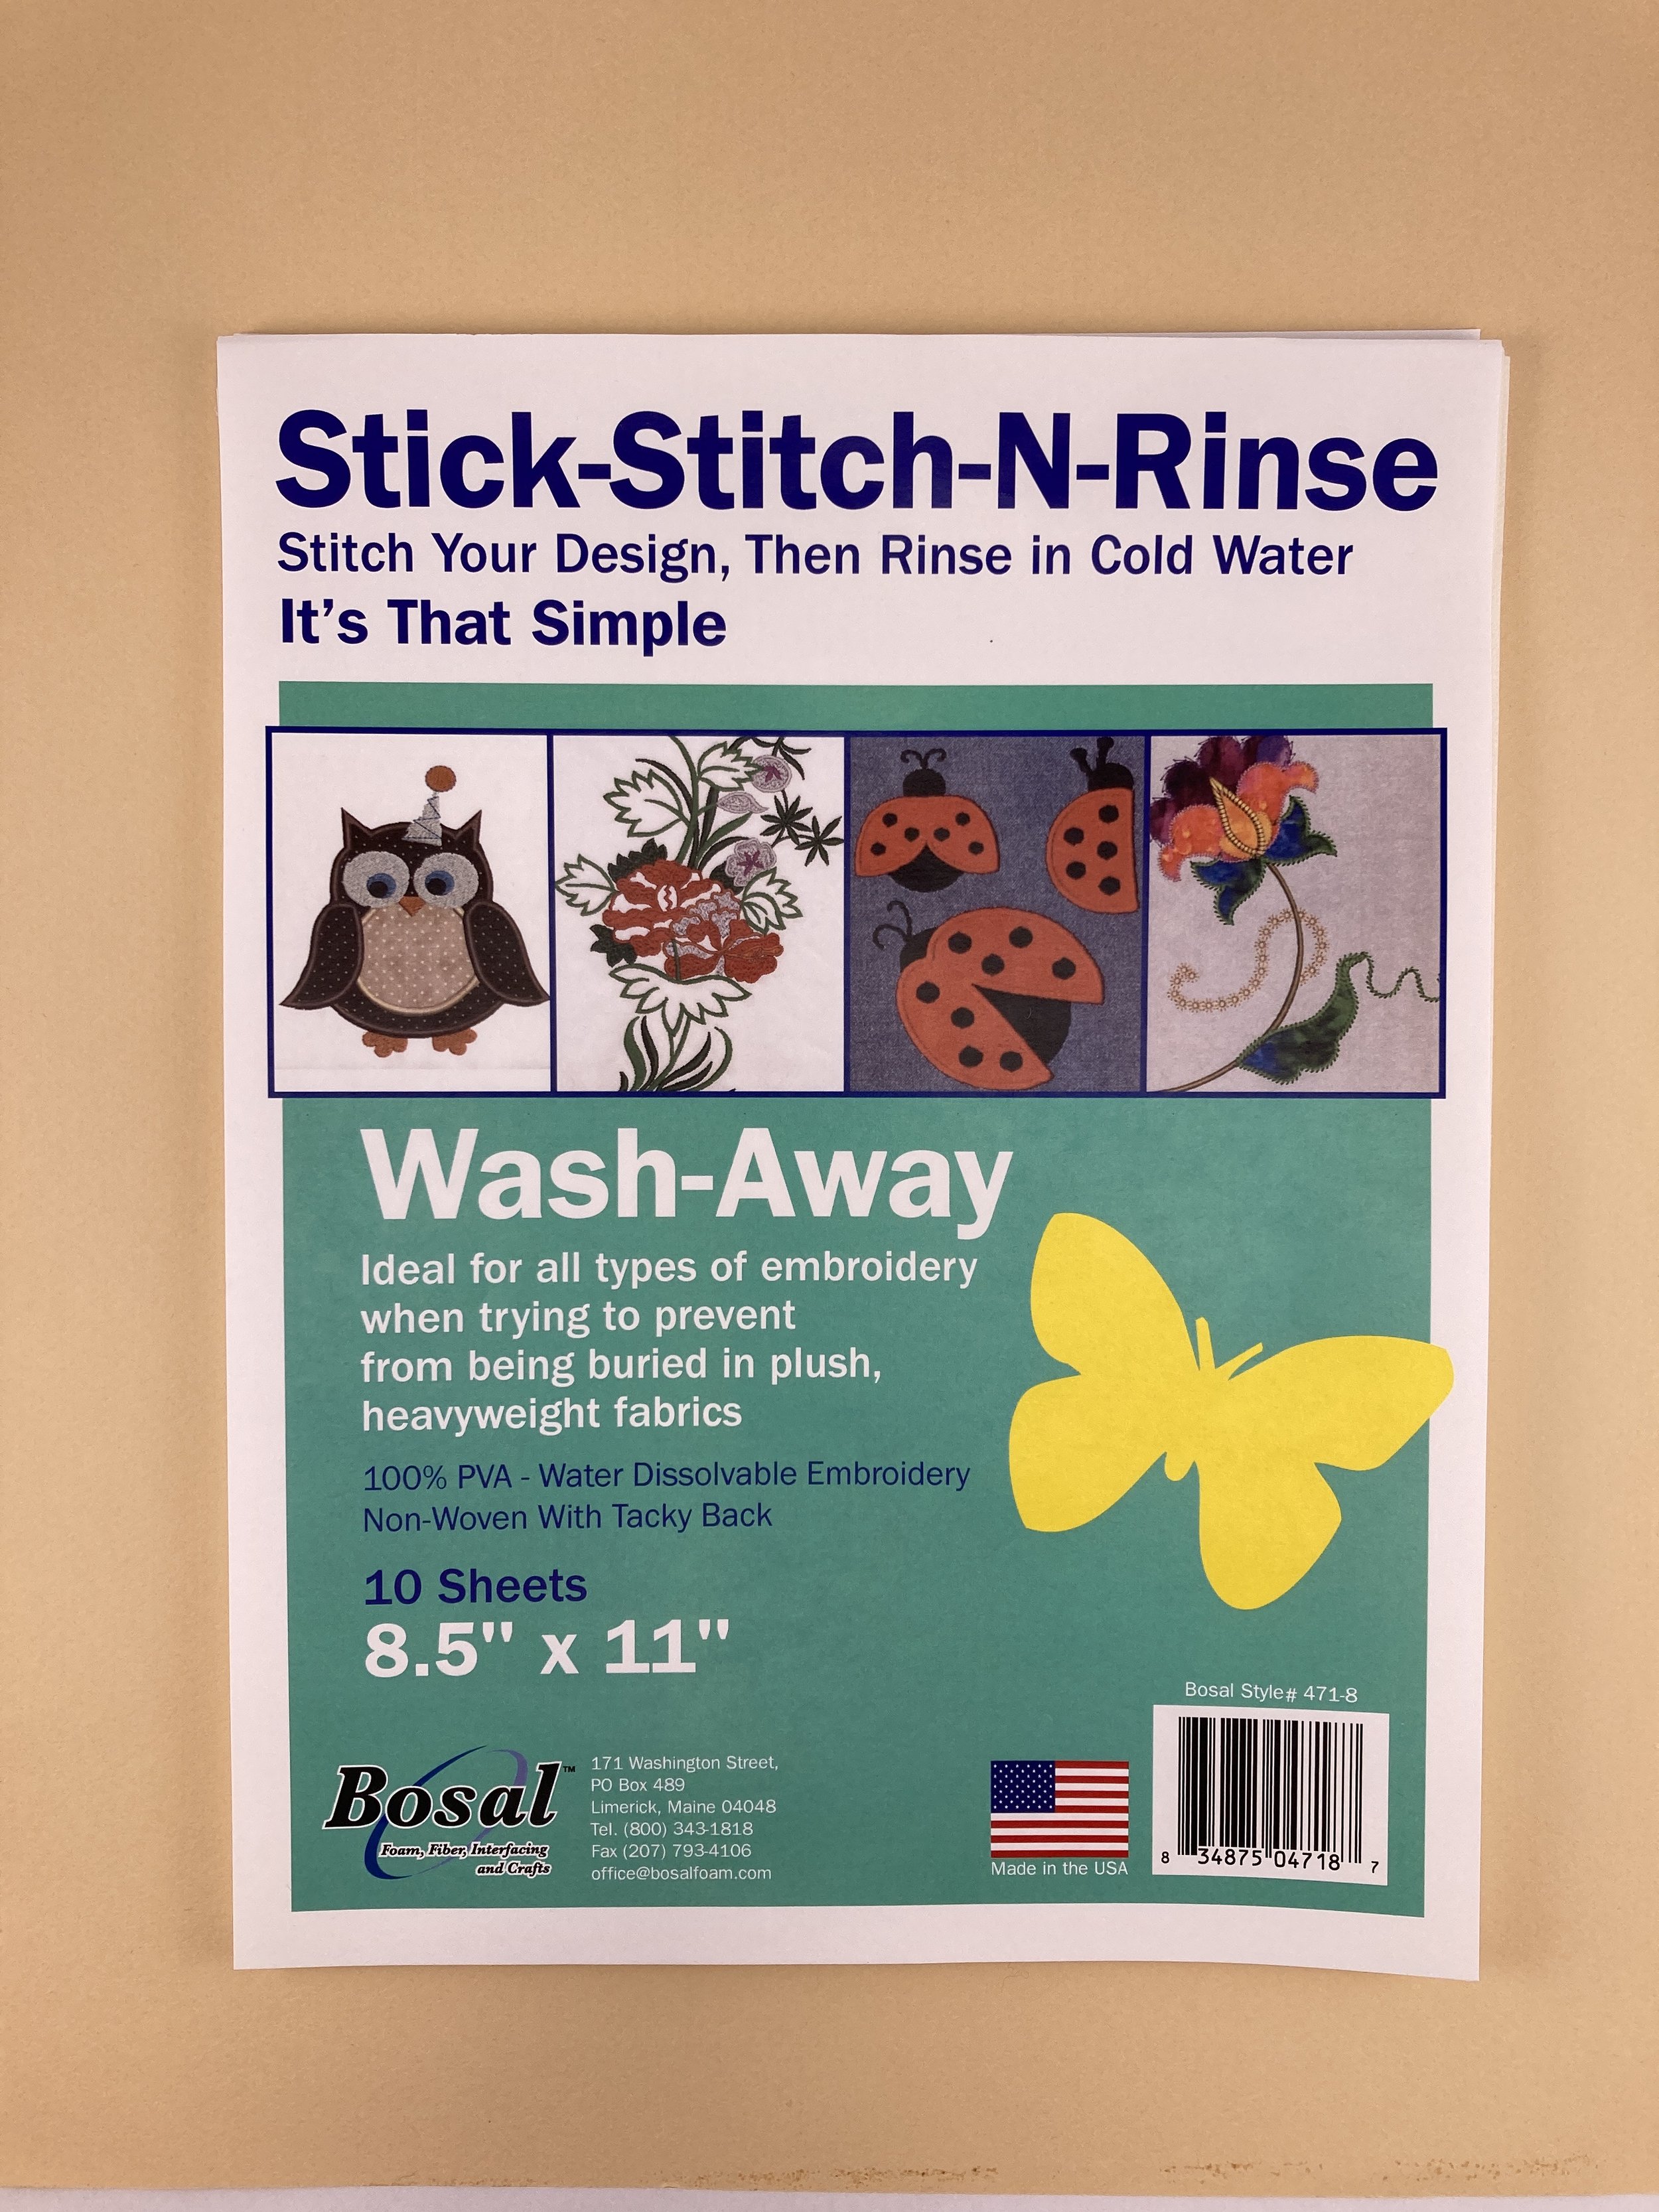
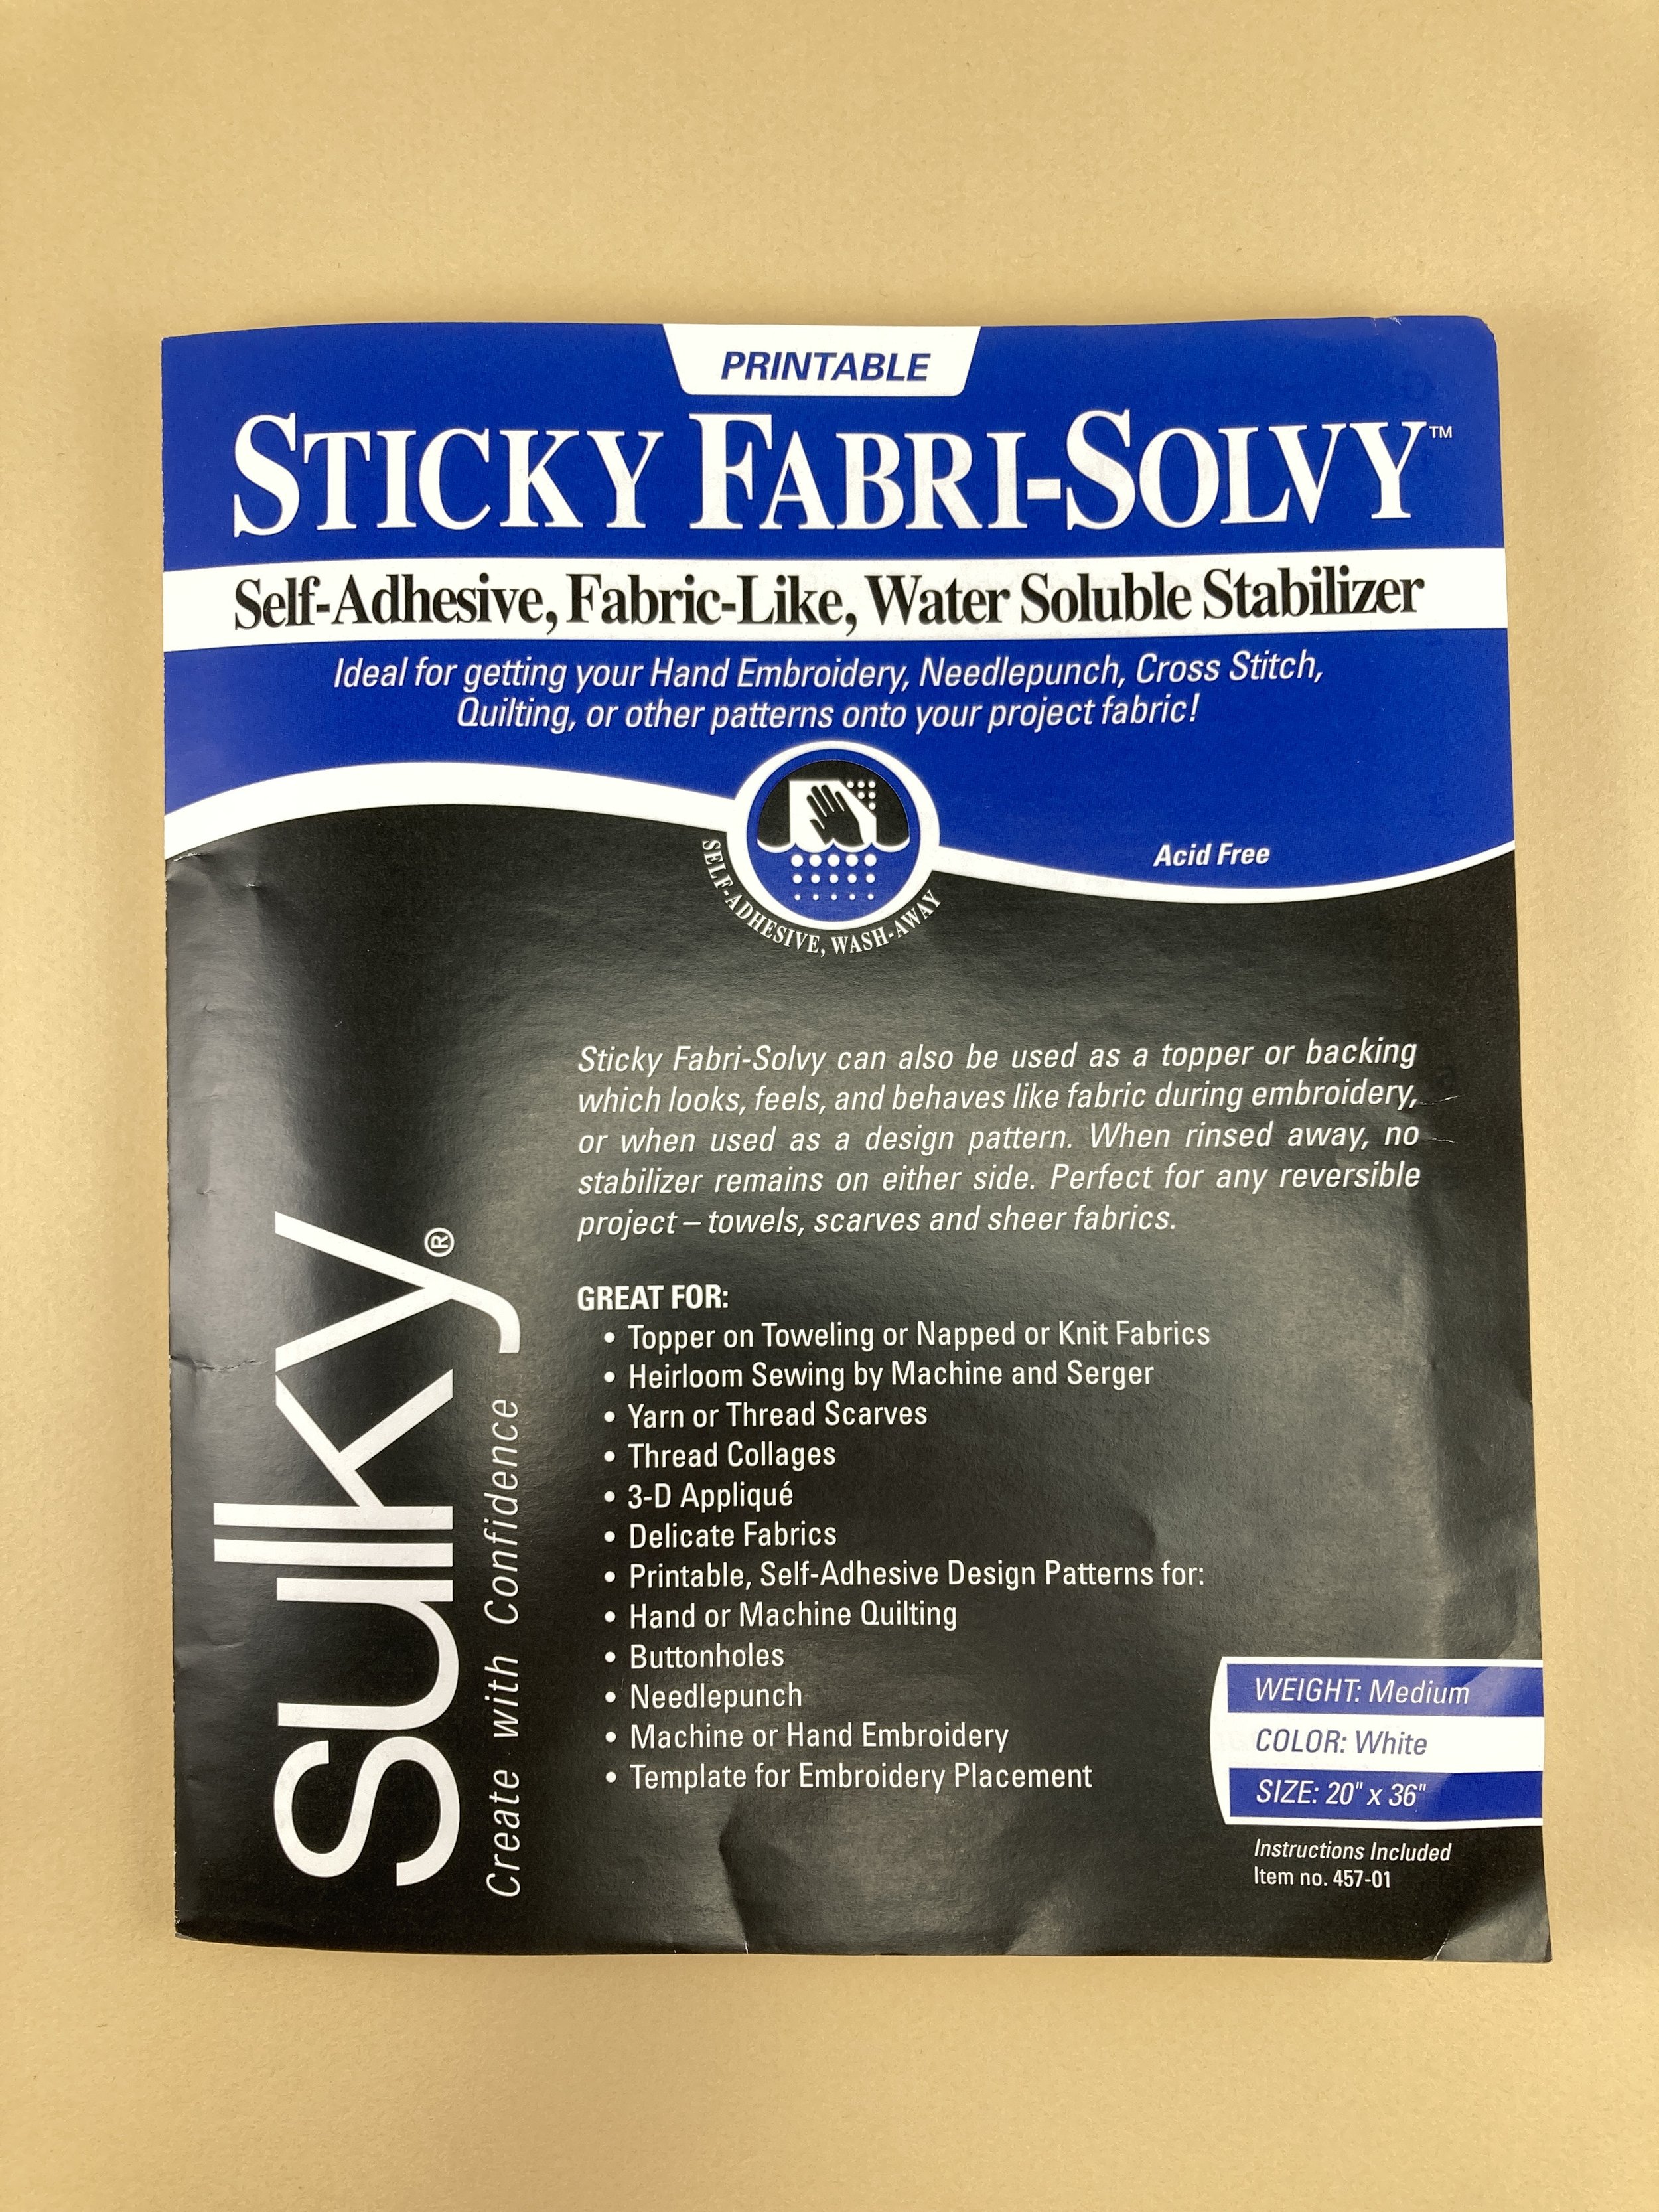
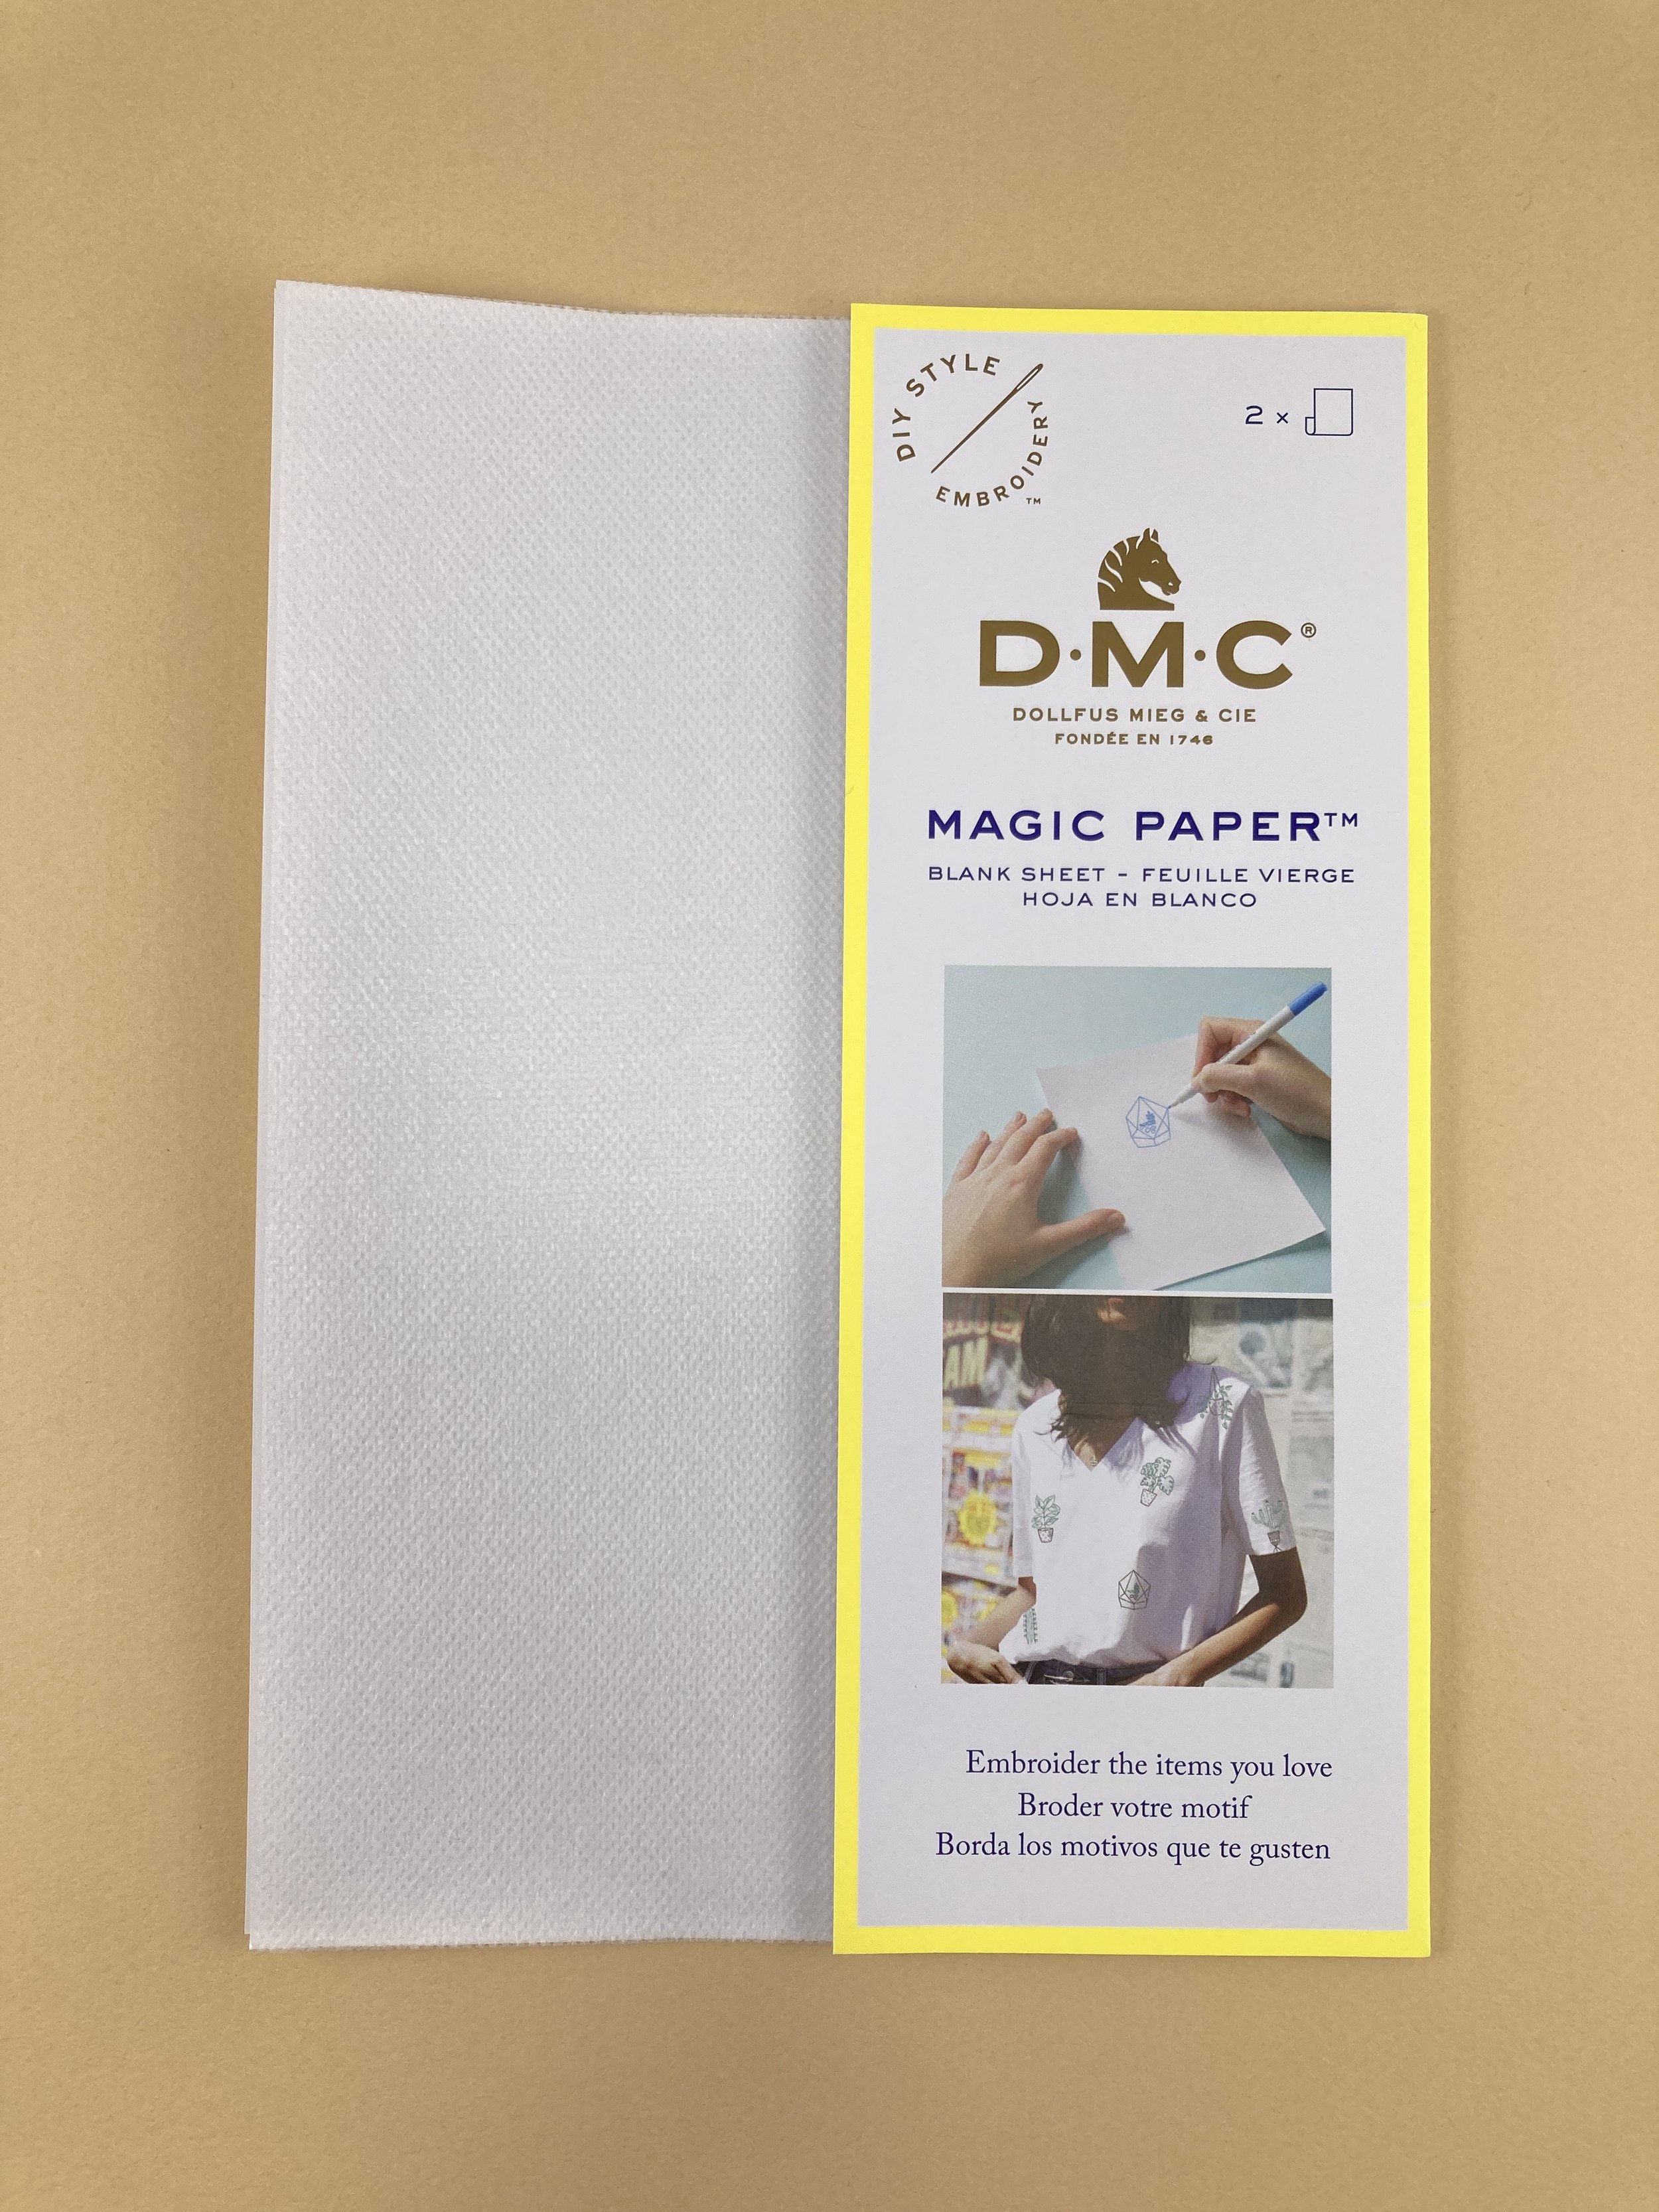
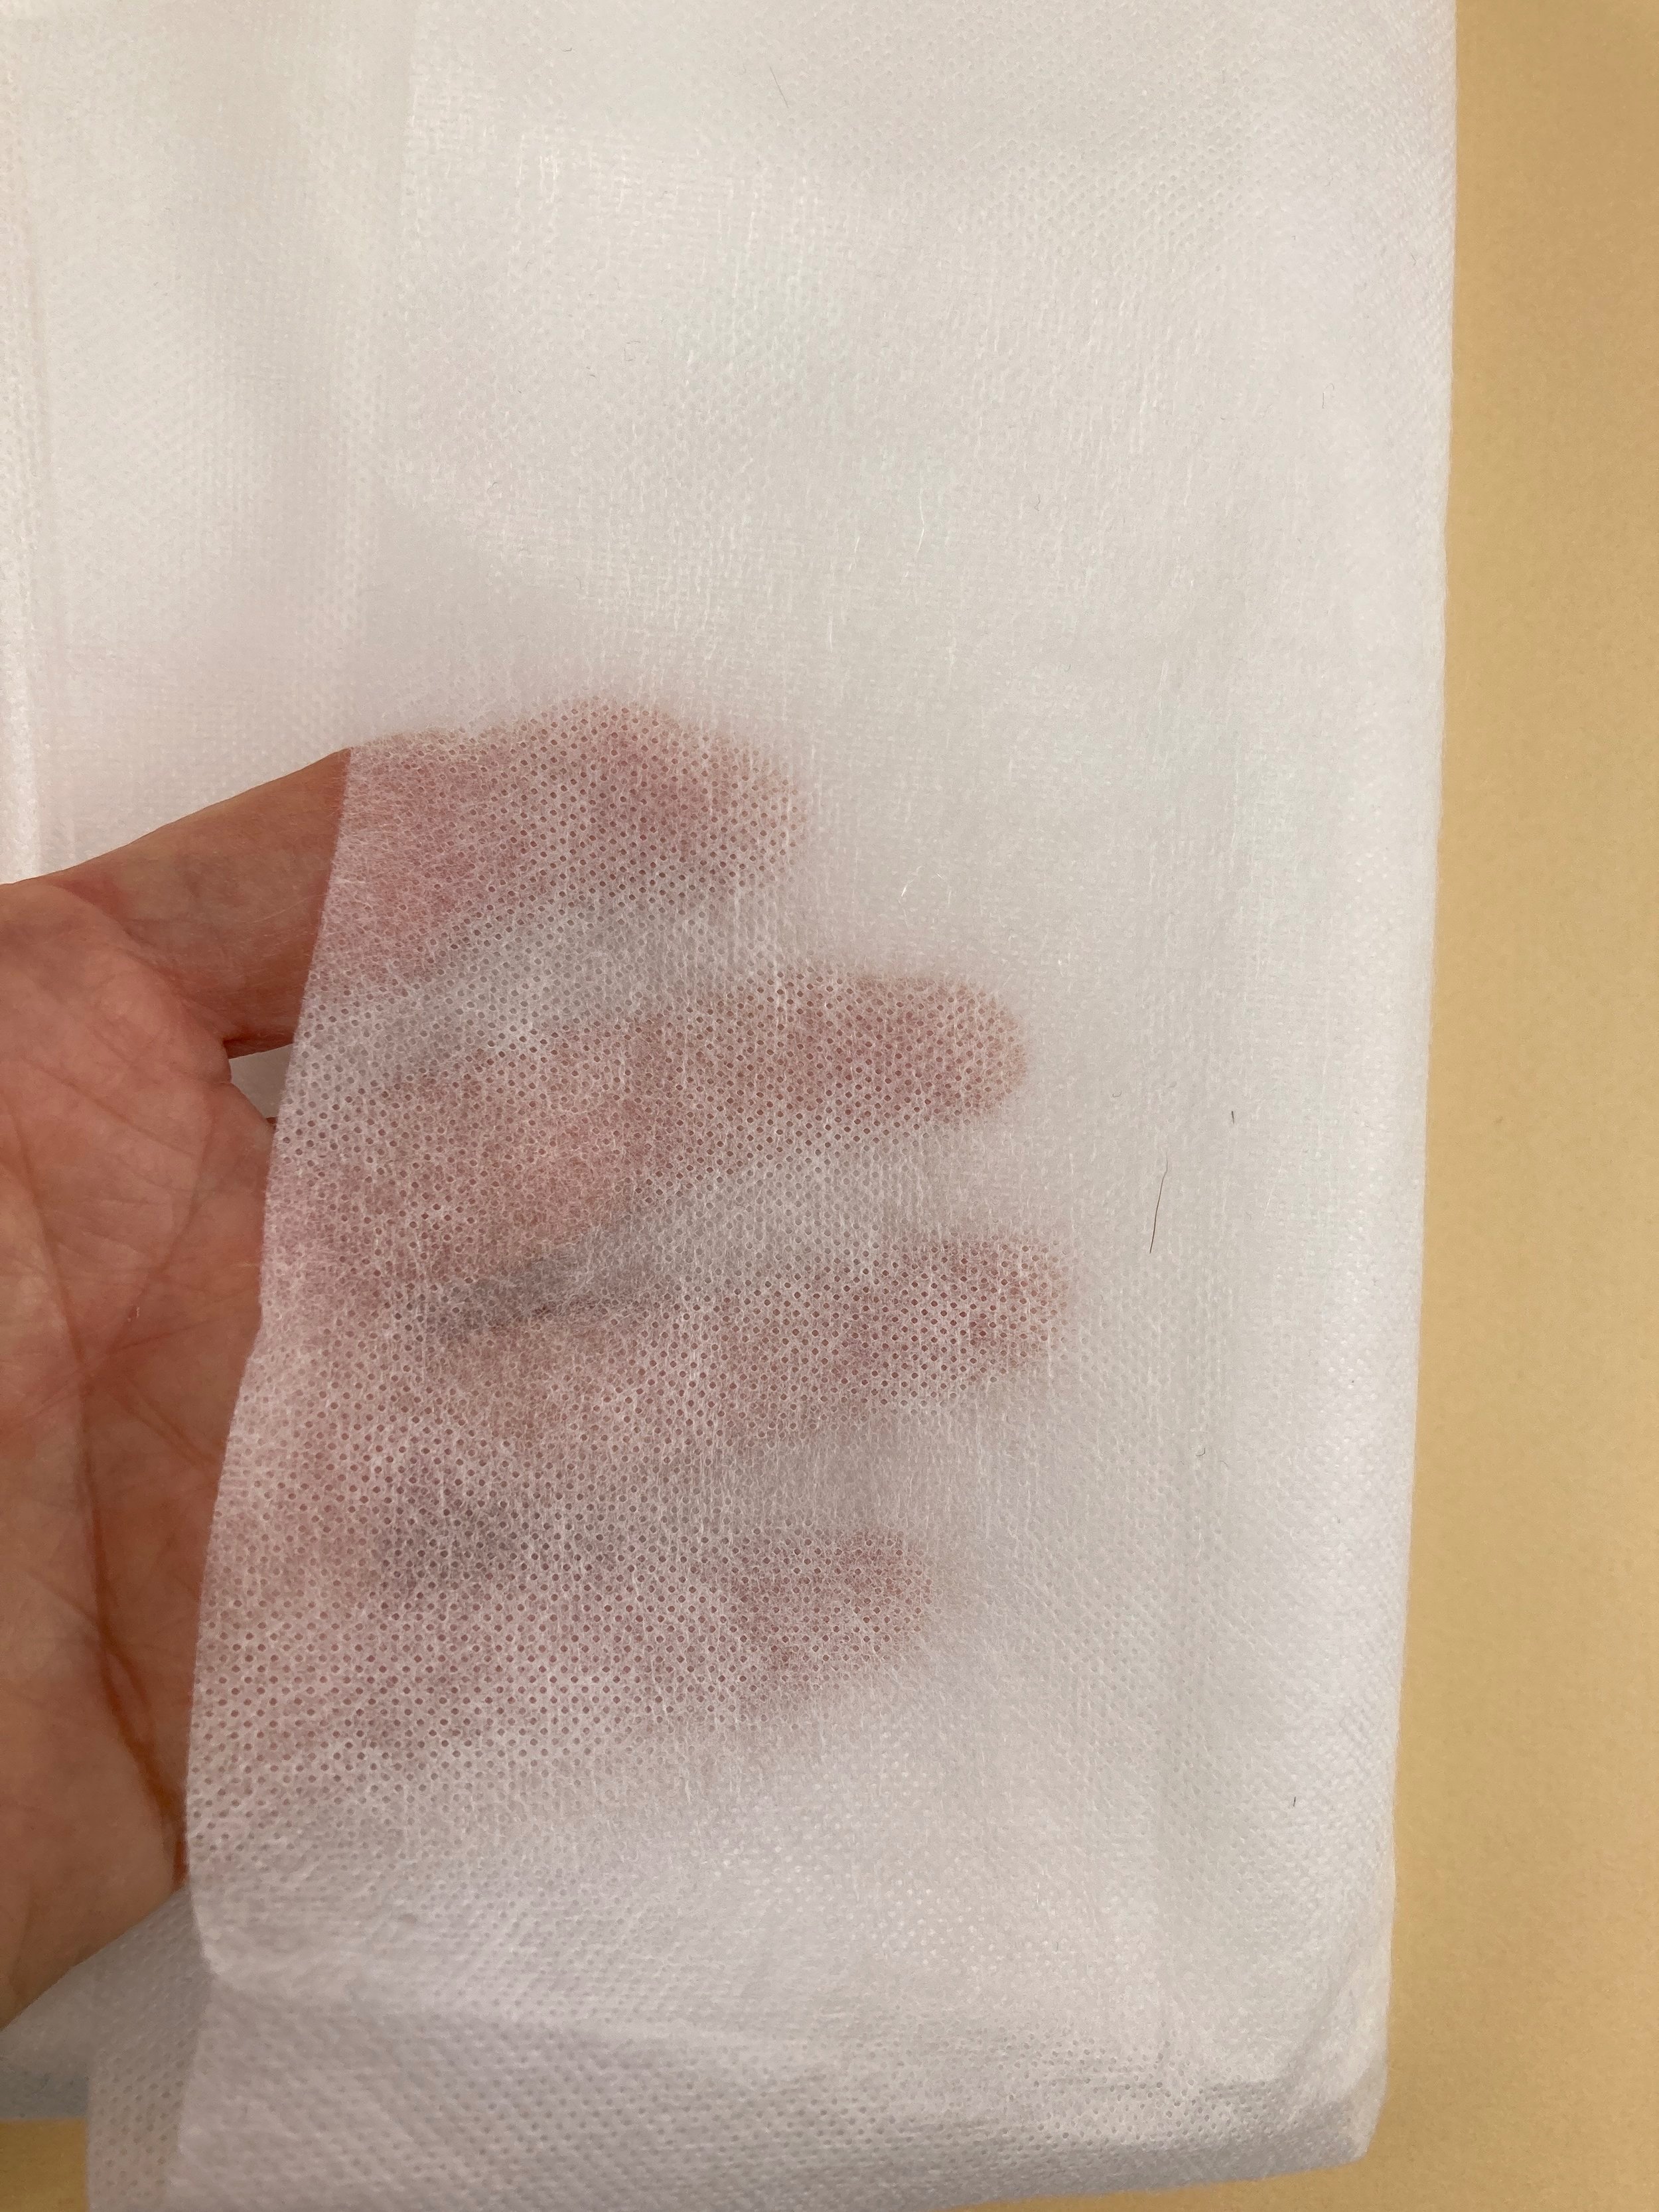
There are 2 types of stabiliser. One with an adhesive backing and one without. The regular one is the more economical option, but you need to baste it in place and on large designs it does crinkle a bit whilst you are embroidering. On the plus side, it is transparent so you can trace onto the stabiliser straight from the pattern. The self adhesive stabiliser might still need the odd basting stitch to keep it in place on larger designs, but it lays nice and flat whilst you embroider. You will need to use a light box or window to see well enough to trace the design, or you could run it through a printer. The first 3 photos below are self adhesive brands I like using and the 4th photo is the regular water soluble stabiliser which can be bought by the yard or metre..
Needles
Unless you’re embroidering on very fine knitwear, regular embroidery needles will not be large enough. A tapestry needle is a better option. My preferred choice is a chenille needle. It similar to a tapestry needle but has a sharper point and goes through the stabiliser more easily. Sizes 18 to 22 work well with DK weight yarn. The bigger the needle size number, the smaller the size of the eye. So size 18 has a bigger eye than size 22. If a design has a lot of french knots, a milliners needle (also known as a straw needle) is useful. Milliners needles are the same thickness along the length of the needle including the eye, so they pass through the wraps of a french knot easily. The largest size, a size 1, works for most DK weight yarns.

Tracing pens and pencils
Whatever you use to trace your design must be water soluble. You might get away with a regular pencil on mid to dark coloured knitwear, but you run the risk of the pencil marking light coloured knitting. After all that work, its just not worth it!
Blue marker pencils, in fact any pen or pencil recommended for quilting will work. My pen of choice is a Frixion pen. It is easy to apply, it is easy to see whilst you are embroidering and it washes out well.

Yarn and a practice sampler
I like to embroider with a yarn that is a similar weight to the one I knitted the garment with. If you use too fine a yarn it may sink into the knitting and not show up well. Having said that I will sometimes strand the yarn to get the effect I want, just as you would with embroidery floss.
And finally I come to what is probably the most important tip of all - practicing on a sample square of knitting. Unless I’m making a repeat garment with the same yarn and same or similar design that I’ve used before I ALWAYS practise a little embroidery on a sample square that is knitted in the same yarn and with the same needles as I knitted the garment with. This can of course be your gauge swatch.
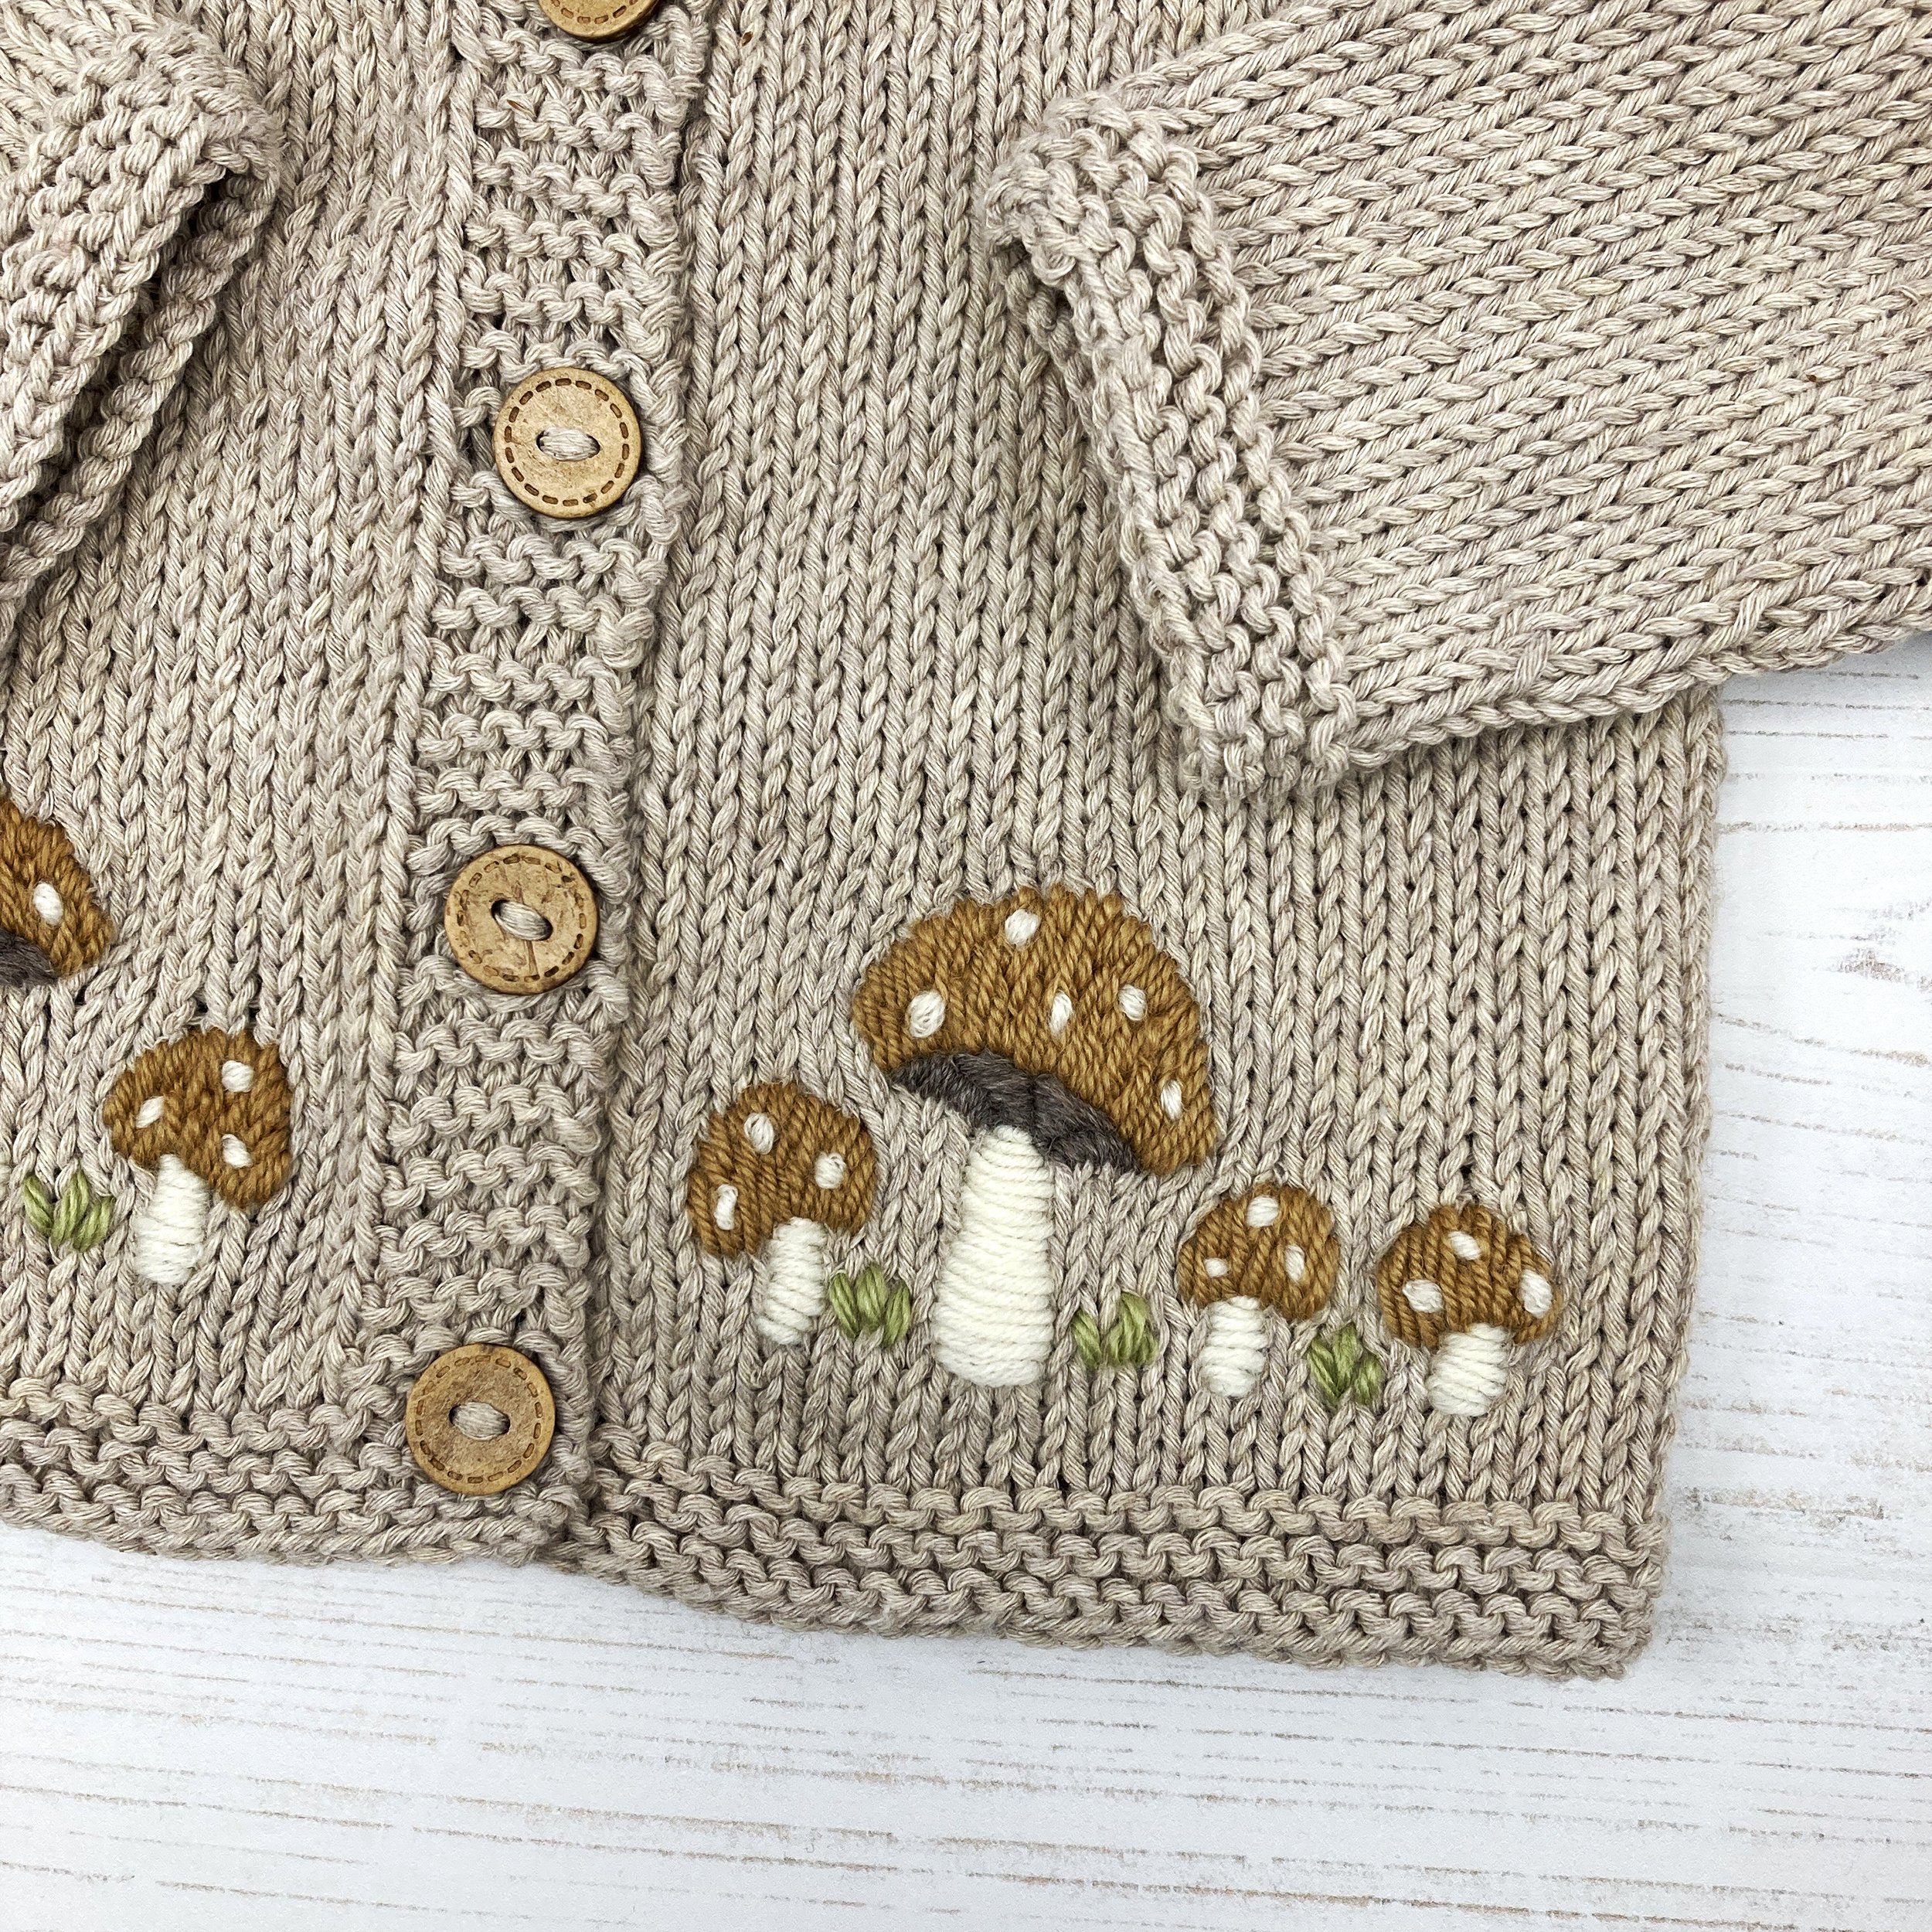
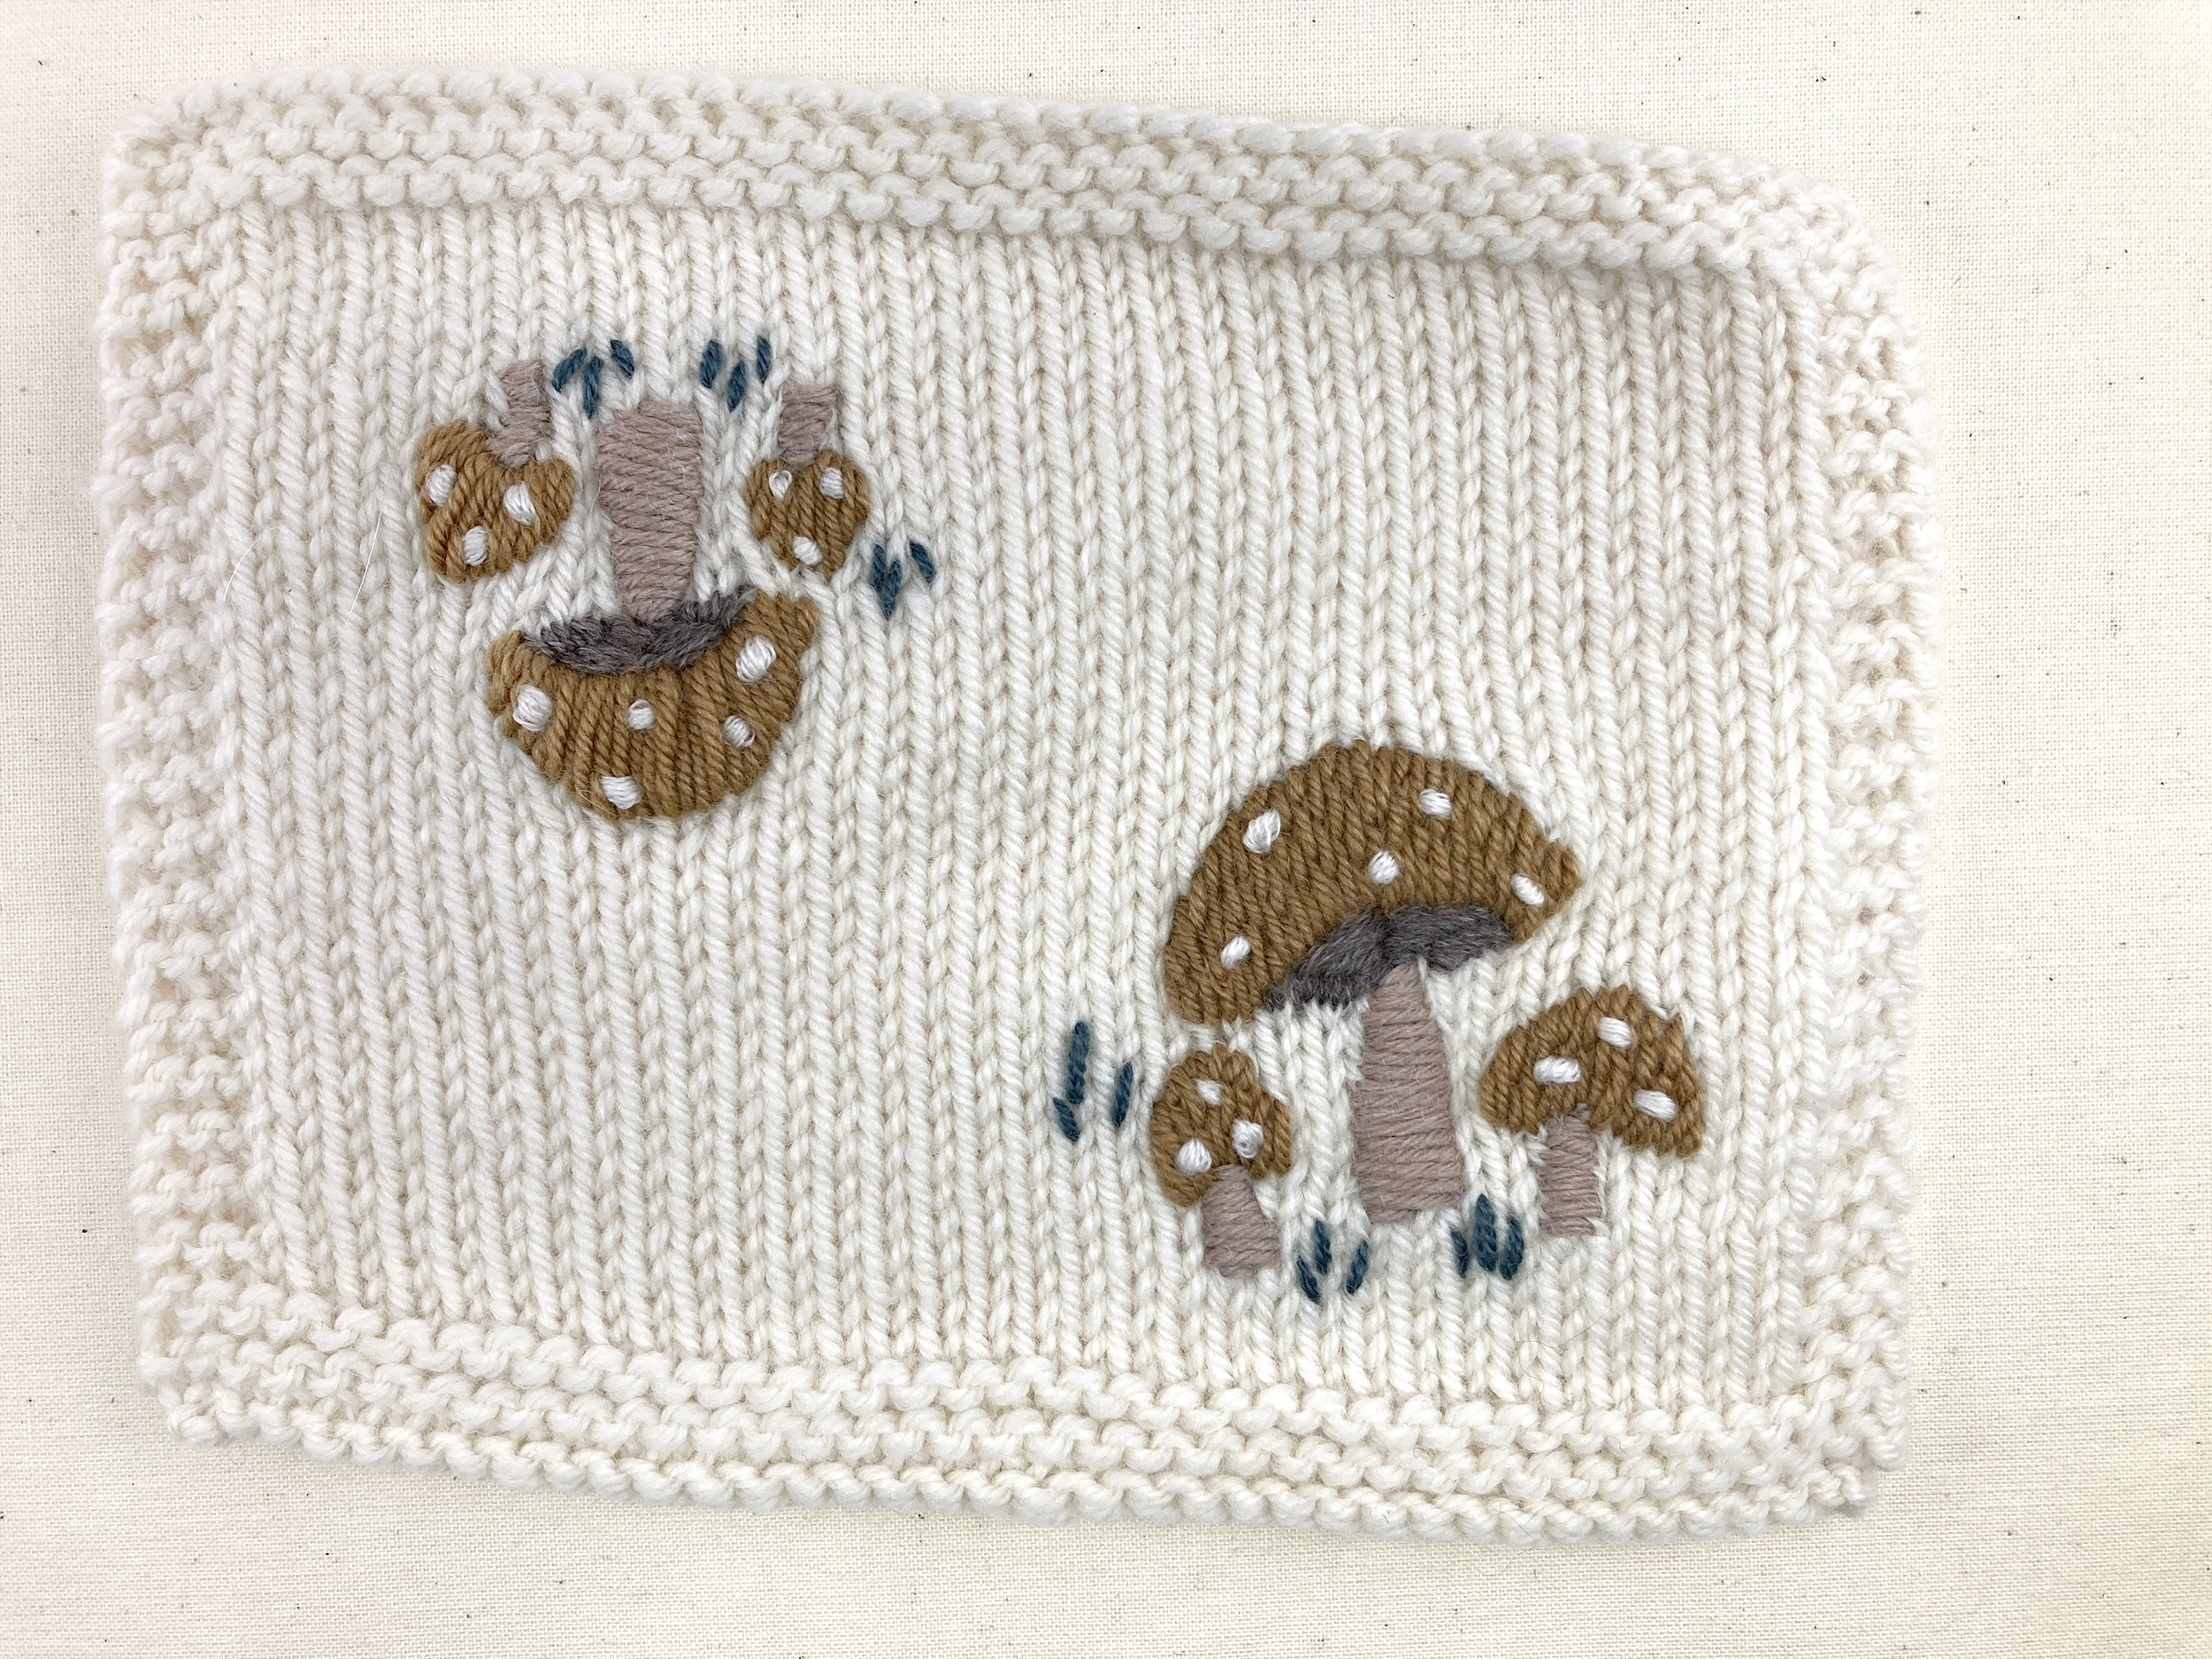
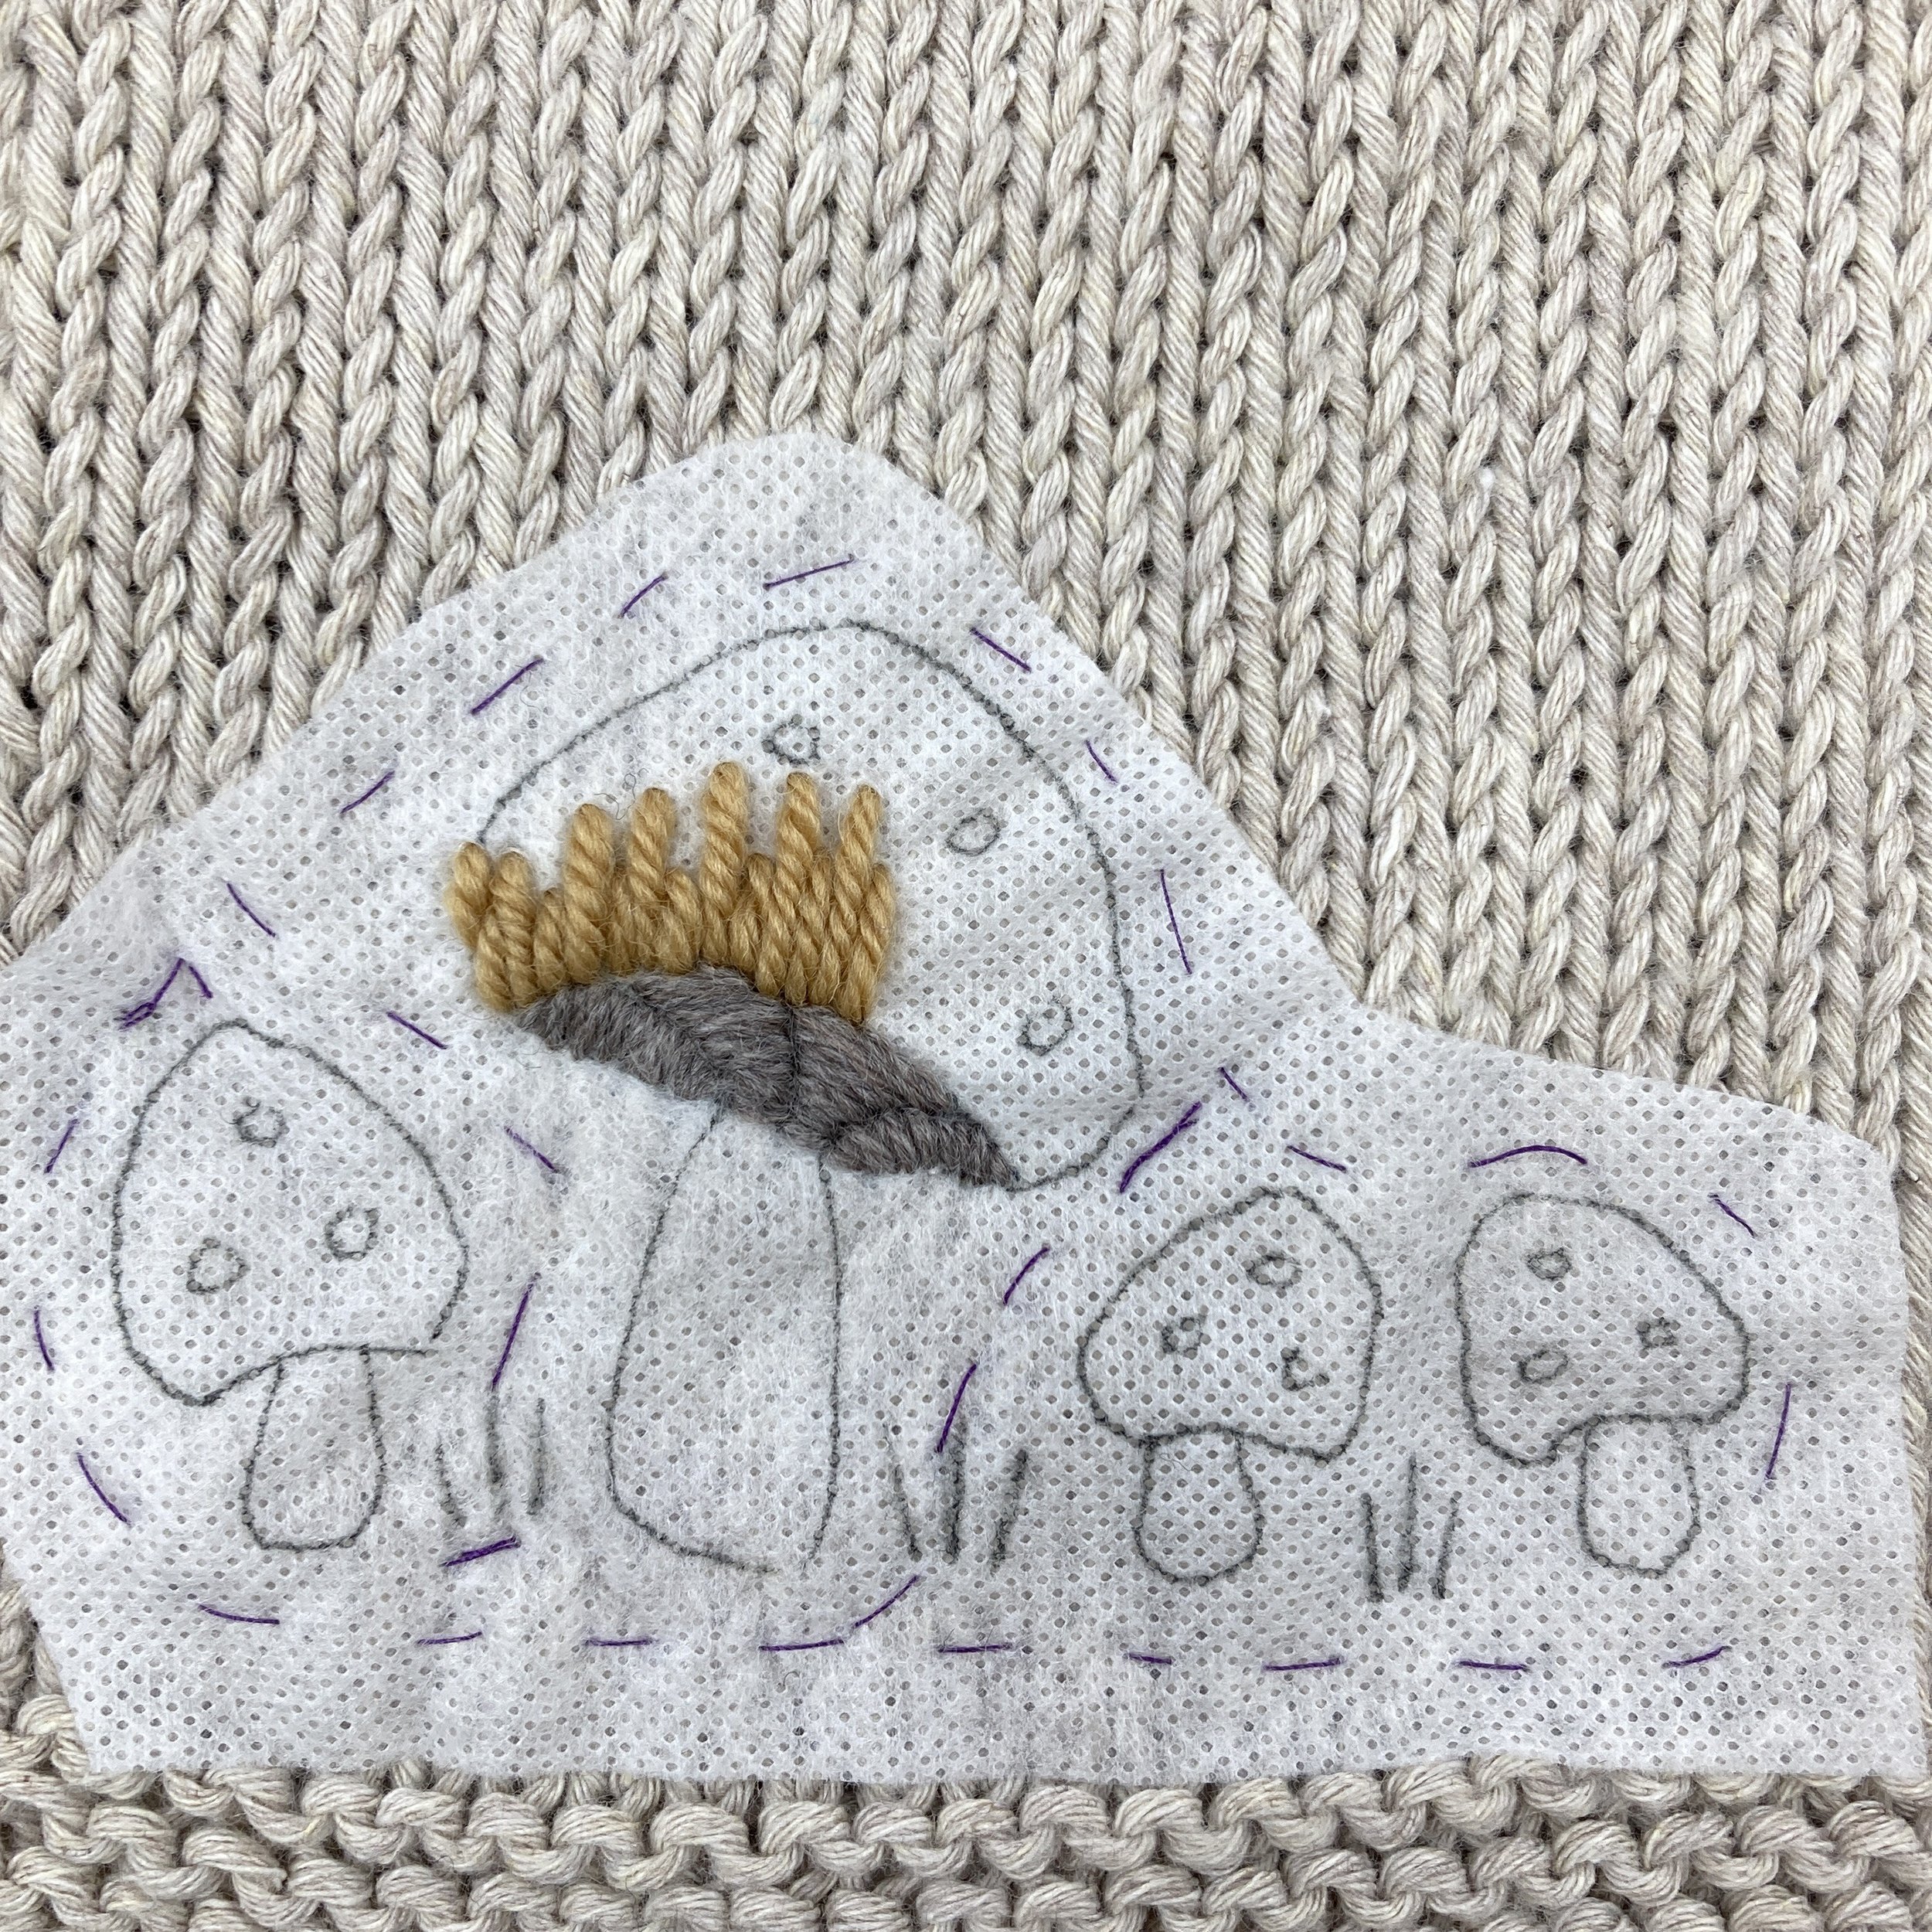
Draw a few small elements from the design onto scraps of stabiliser, place them on your sample and embroider them using the yarns you intend to use for the final embroidery. Wash out the stabiliser, let it dry and see if you like it or if there’s anything you want to change. In the sample below I tested two different embroidery stitches for the top of the toadstool.
Let’s begin!
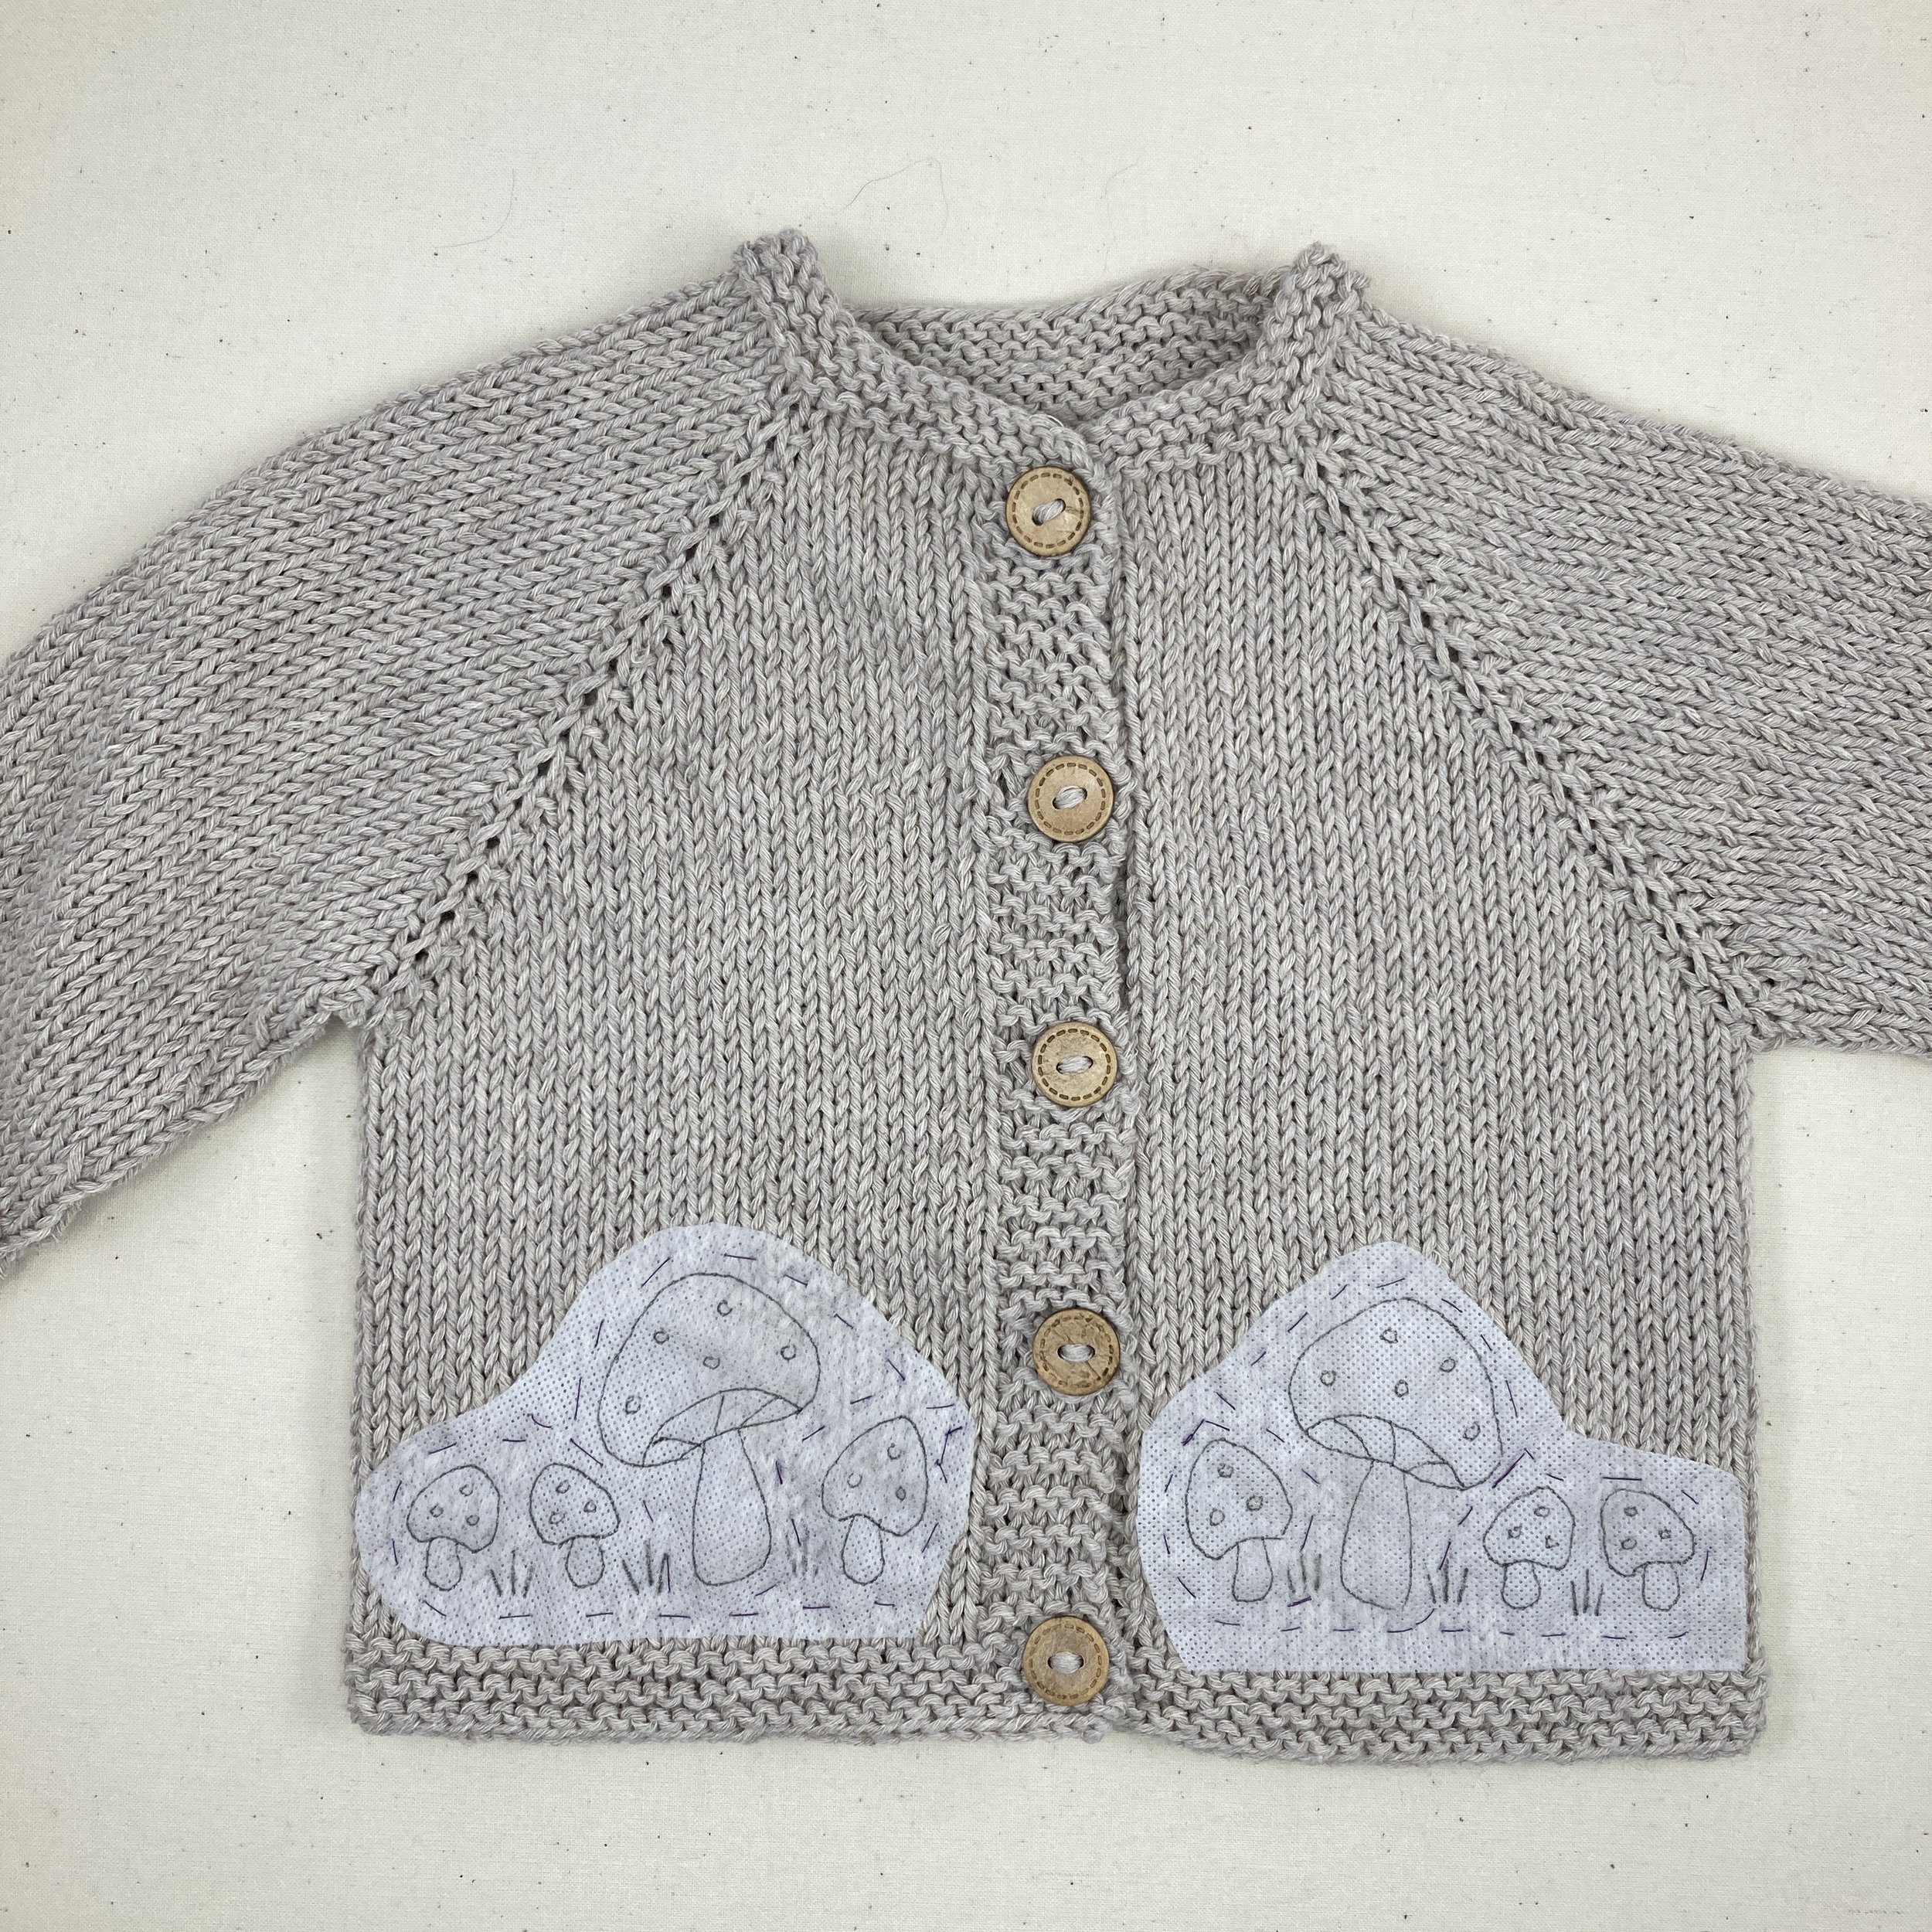
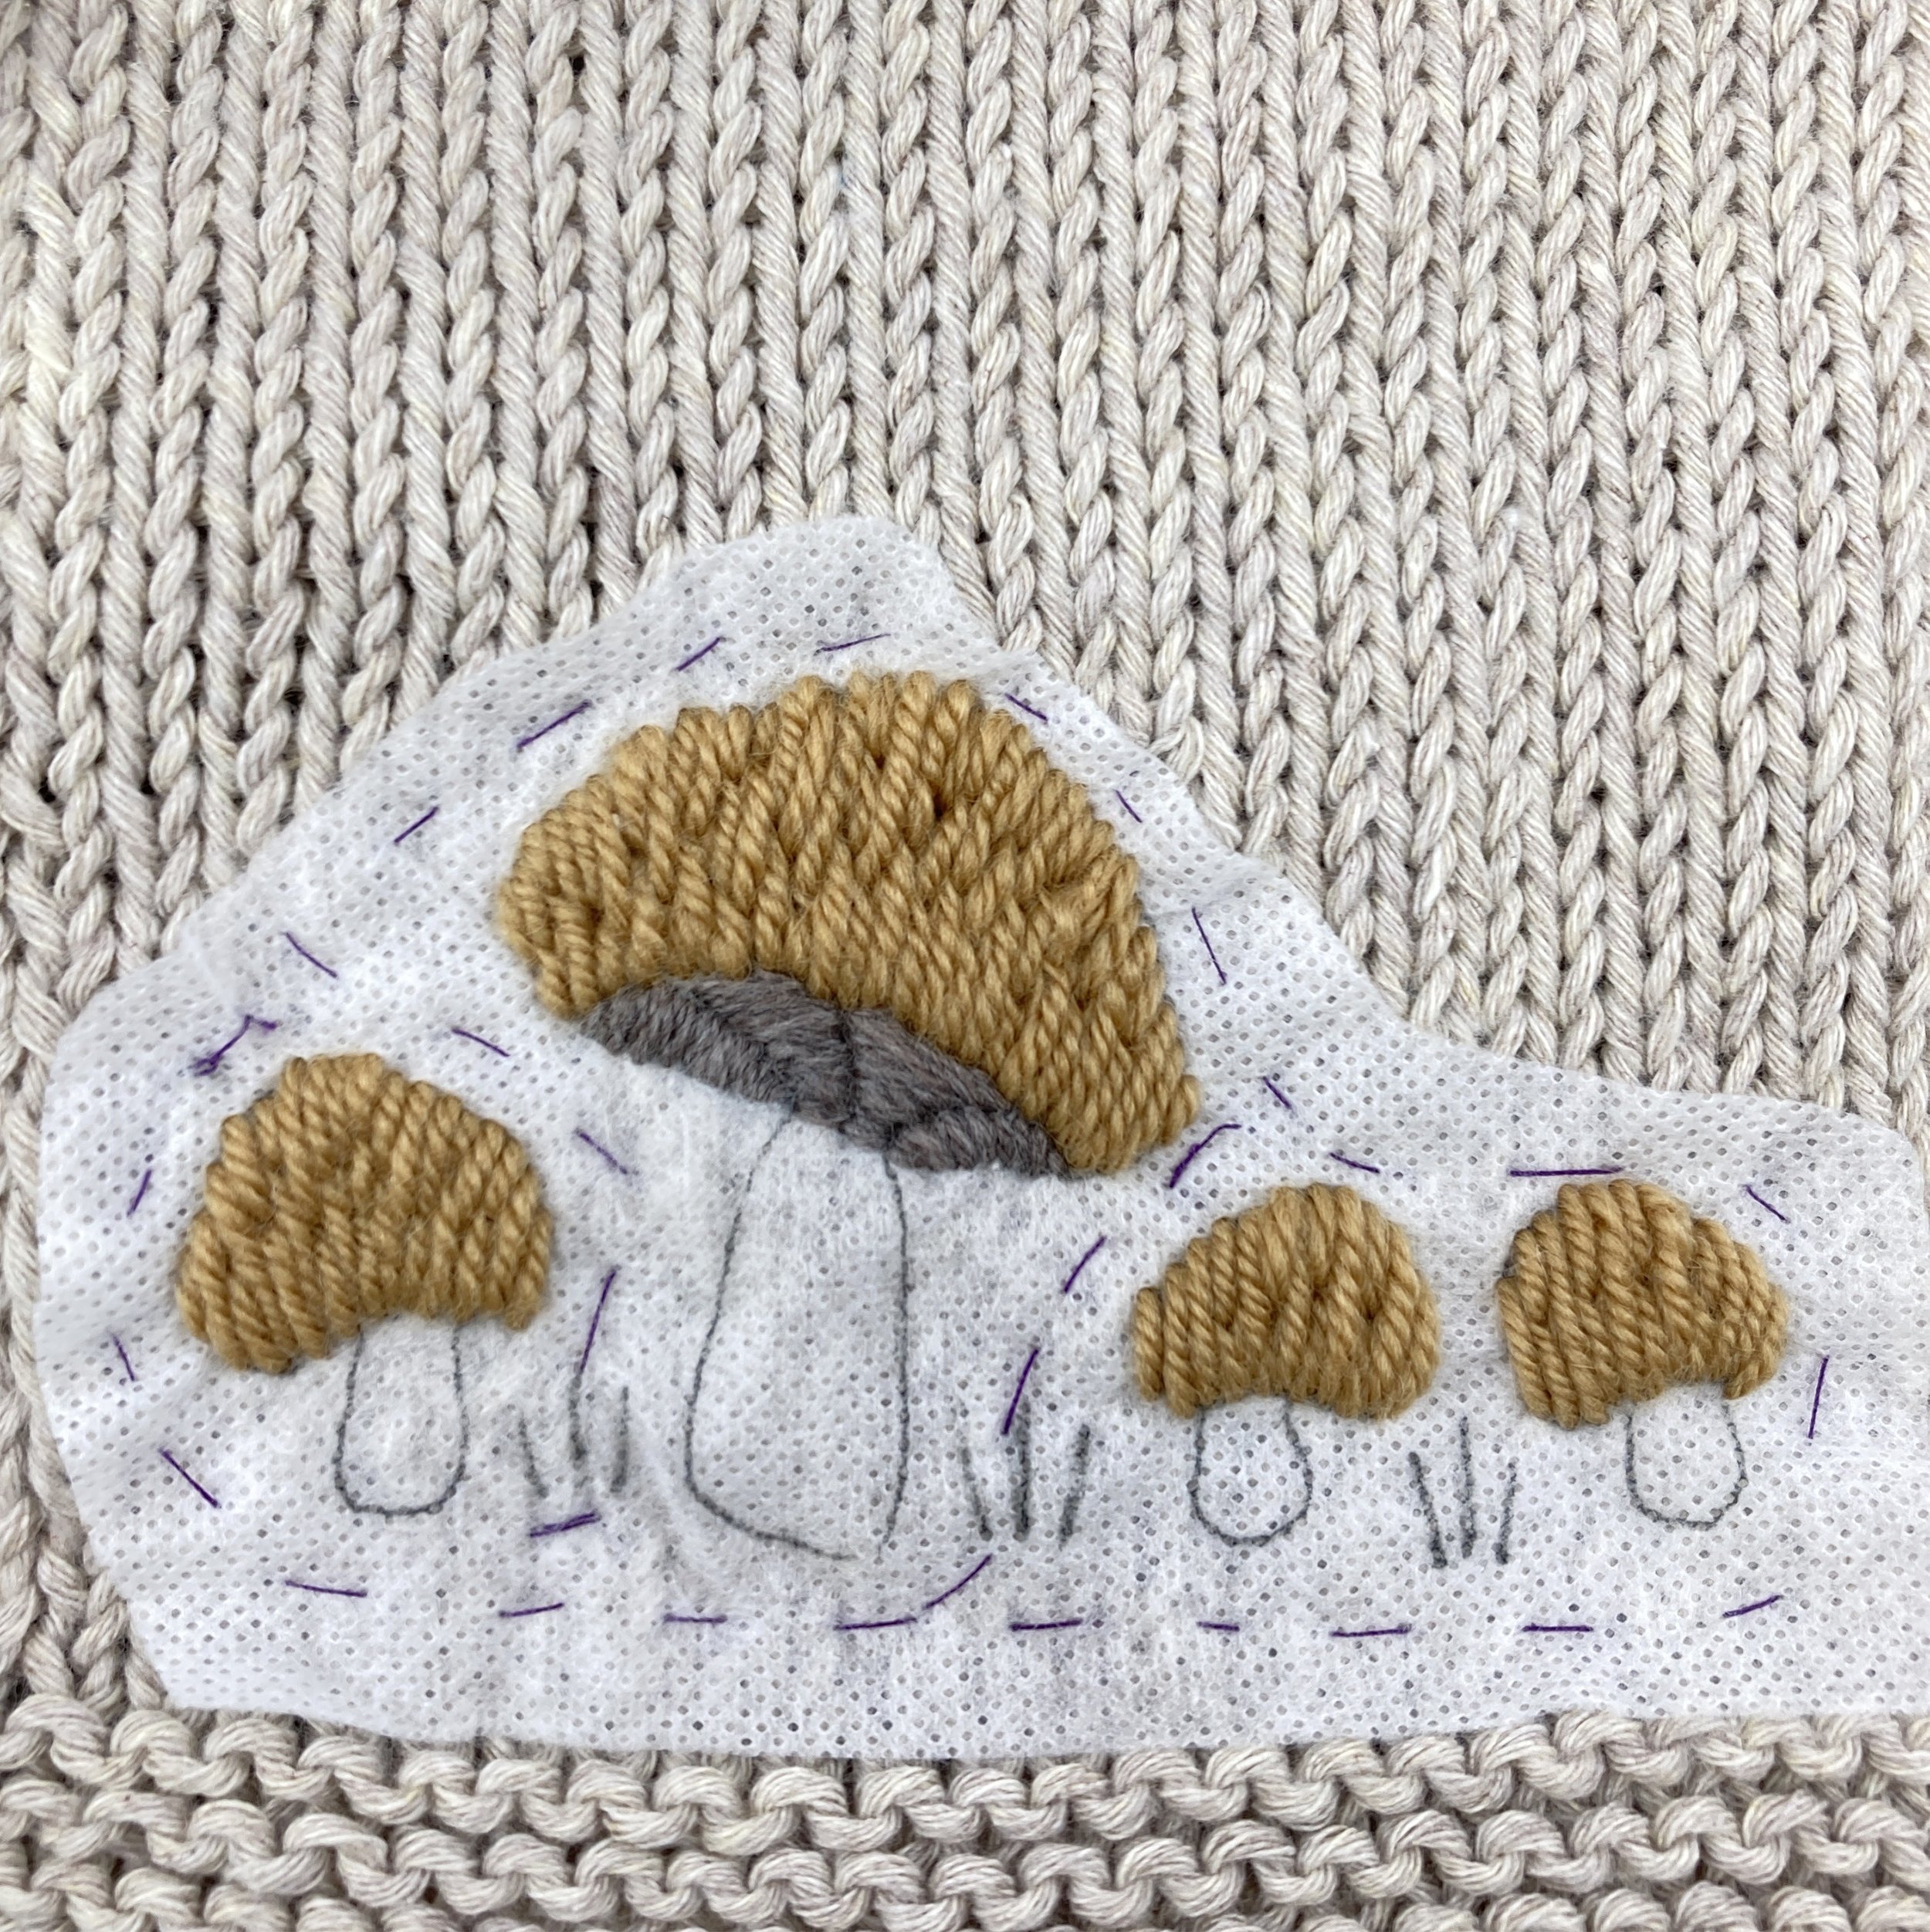
So now you’re ready to embroider on your knitted item. Draw the design onto stabiliser and cut out. If you are using regular stabiliser, leave a decent margin around the design for your basting stitches. Check your placement carefully, especially if, as in this case, you have 2 elements that you need to match up. Baste in place if you’re using regular stabiliser.
Embroider the design following the recommended order if there is one. As a general rule embroider each element individually. If you carry your yarn across a substantial distance on the back it may show through to the front if its a dark colour, little fingers could get caught it in and it can stop the garment stretching as it should.
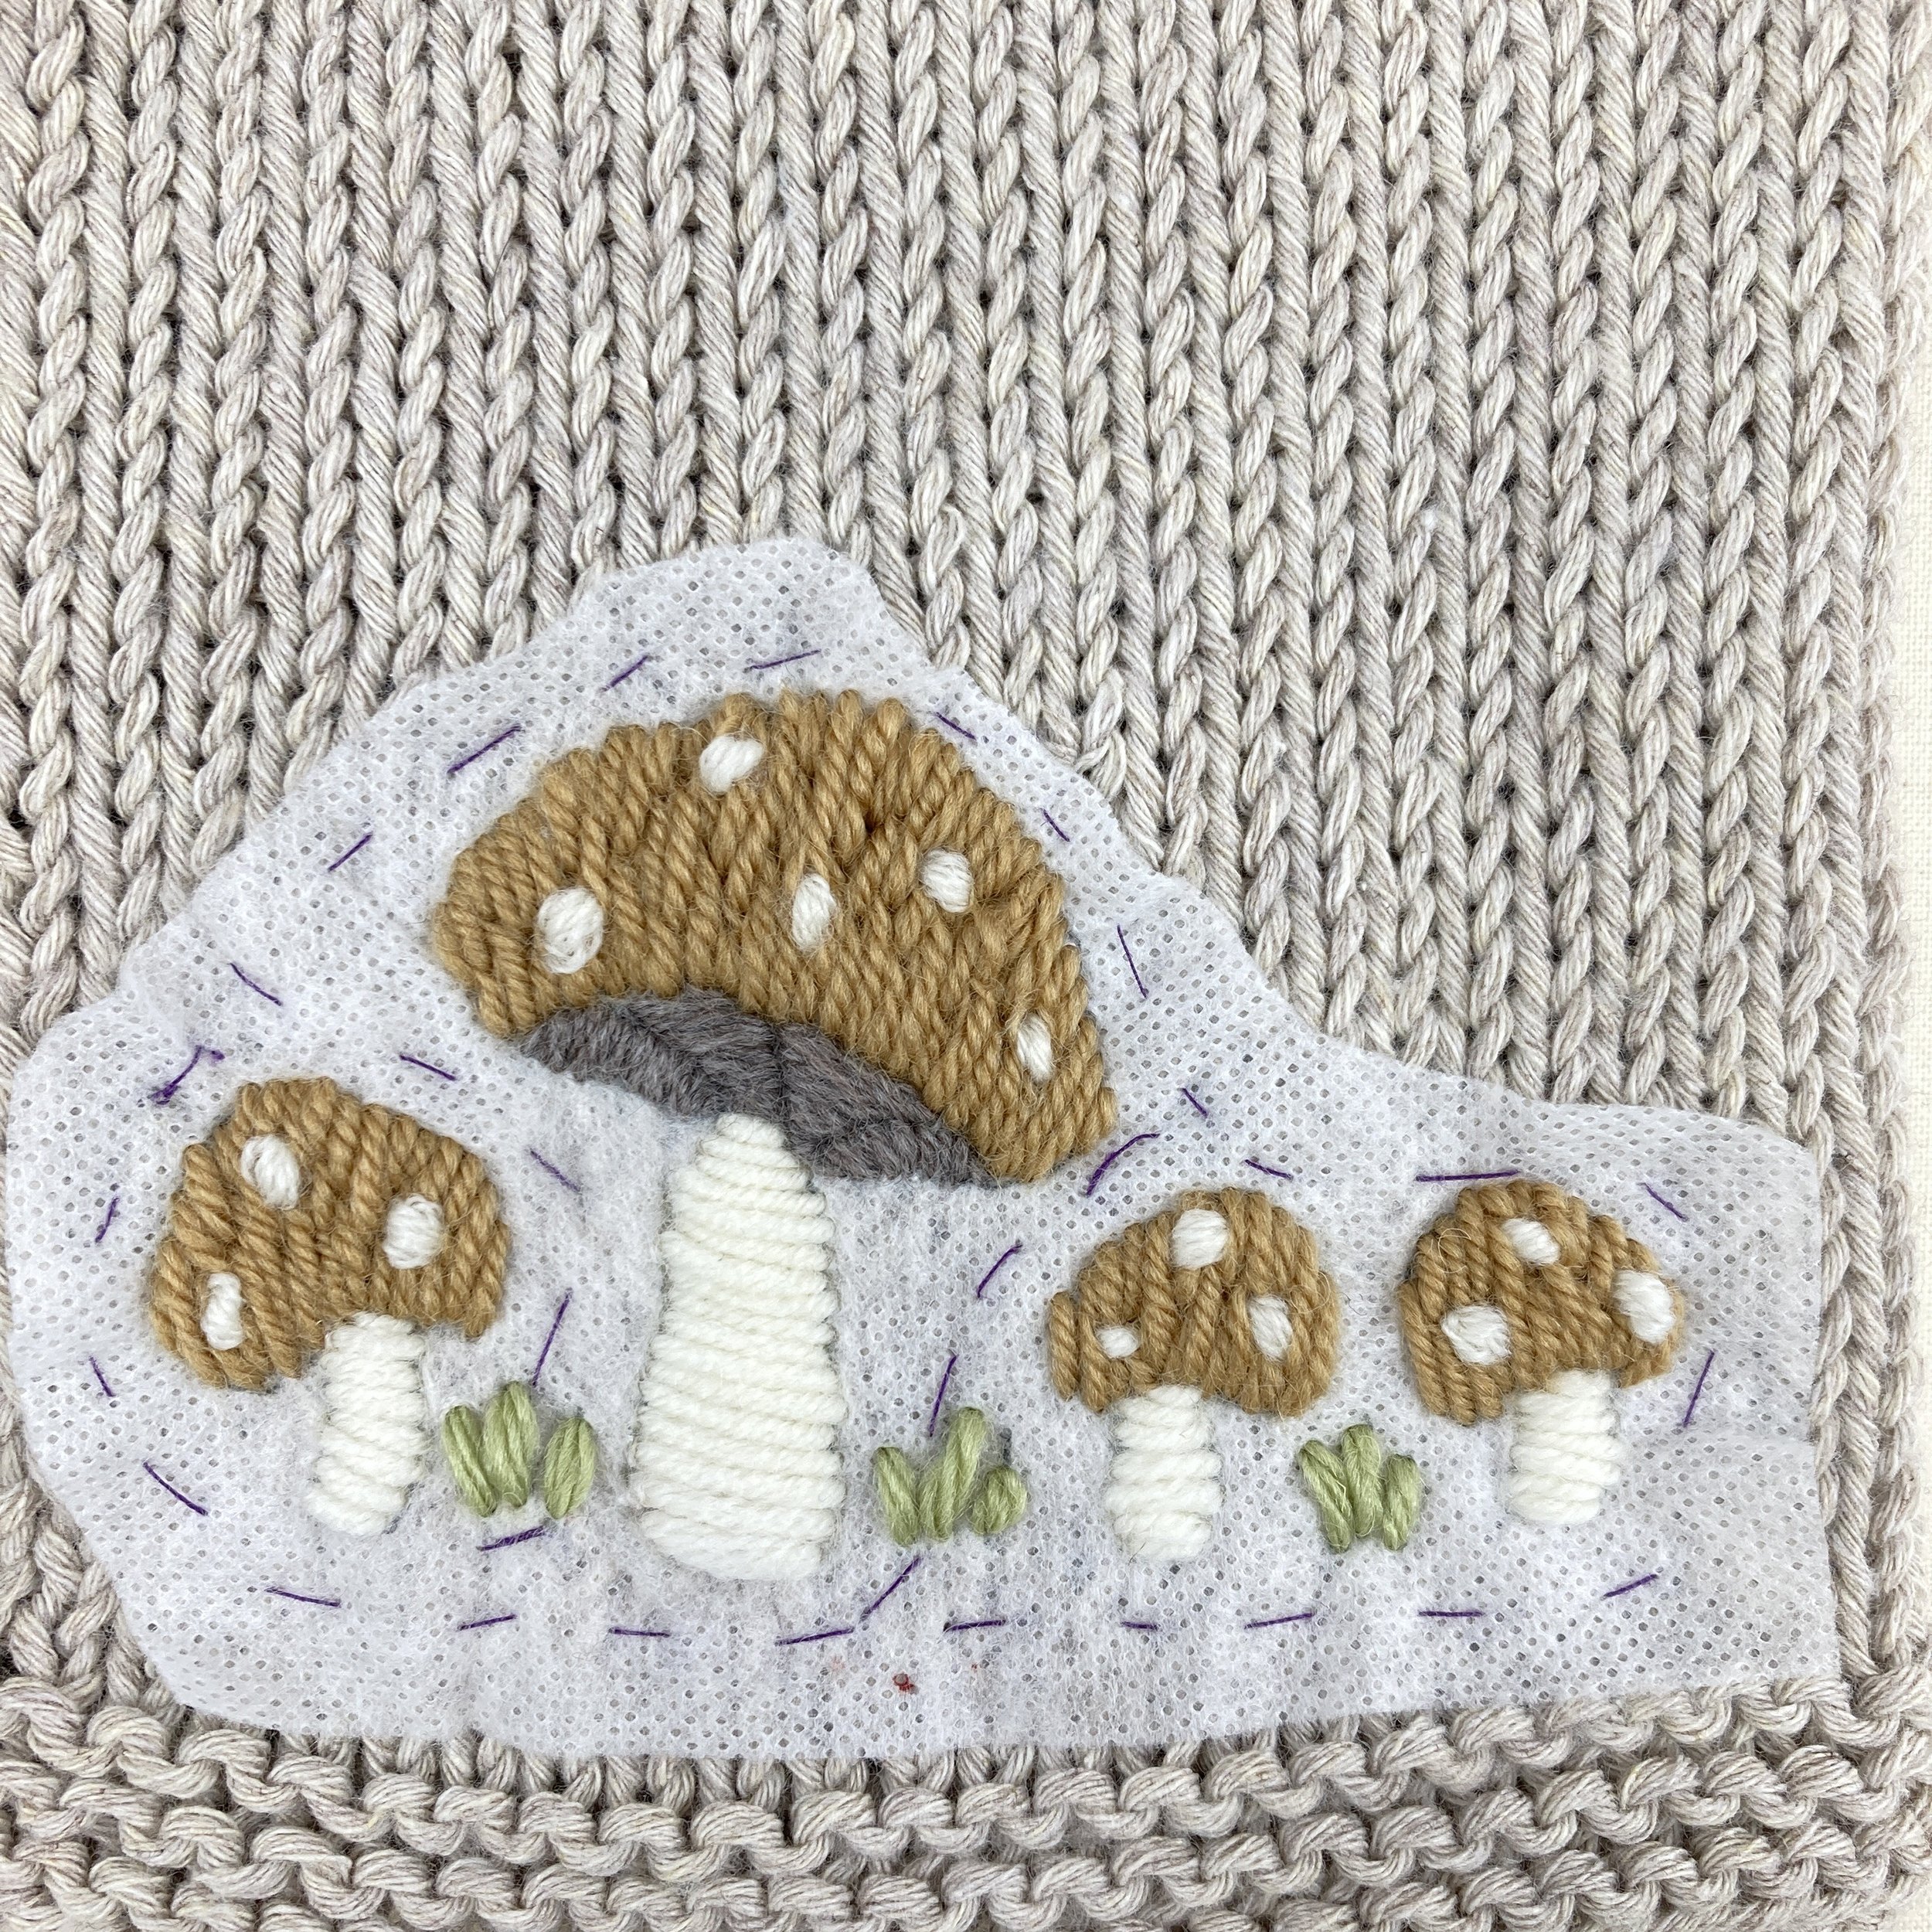
When you’ve completed your embroidery remove any basting stitches. Carefully cut away any excess stabiliser. Immerse the item in cool water, and gently agitate until all the stabiliser has rinsed away. For small items you can simple hold them under a running cold tap.

If you would like to knit and embroider this cardigan you can find the pattern on Etsy